Marathon walk around Amsterdam, Sunday 17 April 2022

Amsterdam RAI, quiet on a Sunday

It’s almost ten years ago that I first accidentally did a marathon walk through London, and looking back on my blog history and walking records in the MapMyWalk app, it’s almost four years since my last one.

It’s been a strange few years. During that walk in 2018 I came across a poster advertising a 100km walk, and I felt enthusiastic about giving that a try. But later in the year I was felled by burnout, and I put more importance on getting enough sleep instead. Between the end of 2018 and the middle of 2019 I was trying to get my head together, and shifting gears at work, to deliberately move more towards a managerial role. This included enrolling in an MSc programme, which has occupied a lot of my spare time in evenings and weekends since October 2019. Oh and family stuff. Oh and pandemic.

My sense of time has become wildly distorted. It was in May 2018 that Fiona and I went to visit the degree show at Duncan of Jordanstone college in Dundee, which feels like it was a turning point for my attitudes towards art school; and now we’re at a point where Fiona is going to be finishing school and moving to Scotland this summer.

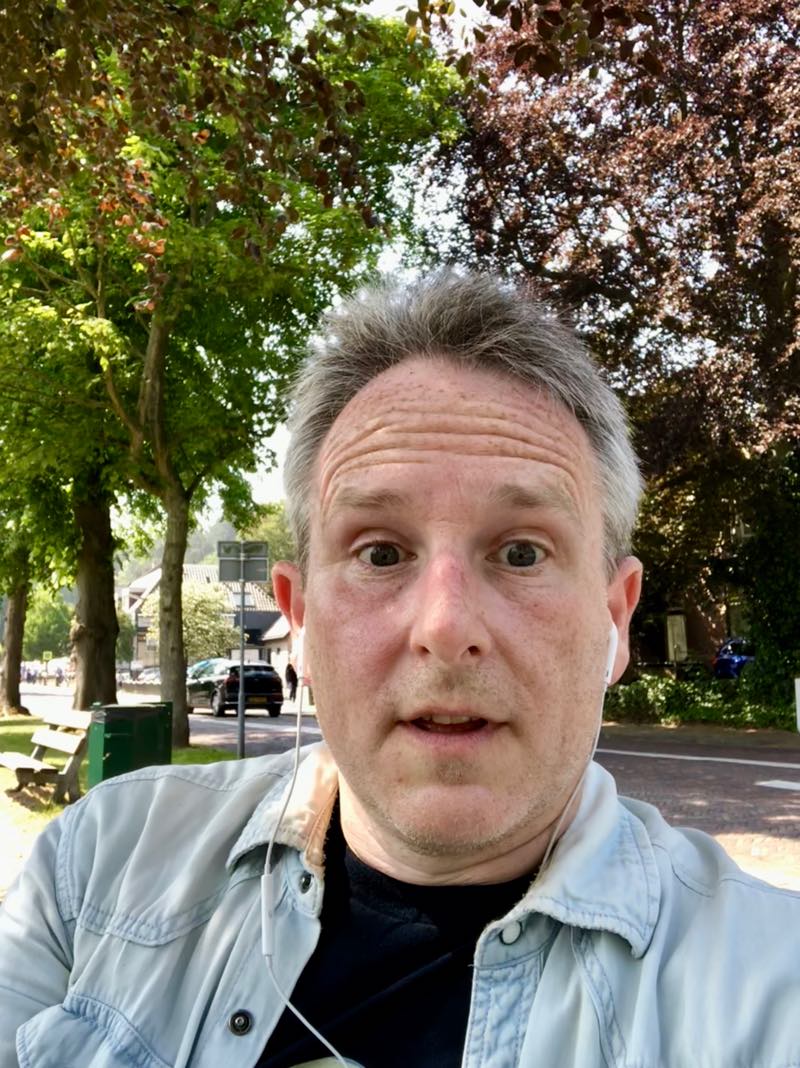
I’ve noticed that I’m increasingly relying on tools to anchor my sense of time. I bought my iPhone X at the end of 2017. It was a top-of-the line phone at the time, and it’s still going strong. I had been looking forward to taking more photos with its high-quality camera, and being able to run all kinds of new and fancy apps that were just too slow on my old phone. One of the apps that has stood the test of time is MapMyWalk, which I’ve been using to track my walks, and have stubbornly refused to “go premium” with. All I want is an ad-free thing that will allow me to track my location and distance on a map, and save those tracks. I don’t want challenges or badges or social features. MapMyWalk is still very good at these basics, although over time it has made the premium features more prominent. It’s what I still use as my default tracker, and it’s how I checked when I did my last big walk.

On this walk I decided to pause the app when I took breaks. Inevitably, I sometimes forgot to un-pause when I set off again. The data is missing about 6km between Schellingwoude and Het Schouw.

(Annoyingly, MapMyWalk doesn’t allow for an export of time-series data in GPX format, so I have to use another app, GPX Trail Tracker, to gather data for use in geo-tagging photos from my non-location-enabled camera.)

Early in 2019 I bought a Fitbit Inspire HR with the goal of using it to track my sleep. The heart rate tracking and step tracking were incidental, and I don’t use them much. I would have liked a “smart wake” function that tries to detect “light sleep” up to half an hour or so before your alarm clock is due to go off and then buzzes you awake, but it wasn’t available on the cheap models back then. (It’s on the Charge 5 model now, which makes me wonder about an upgrade…) I occasionally also used the Fitbit app for entering my weight, which has actually been quite useful in hindsight for seeing how I’ve fluctuated over the last tree years.

Photos are a big part of being able to situate my memories in time. I’m all-in on the Apple ecosystem, and the native “Photos” app does a fine job of keeping everything in sync and backed up to the cloud, with the option to do some light editing along the way. HoudahGeo is what I use on my laptop to associate GPX tracks with camera photos, and it looks Houdah Software’s new “Photos Workbench” app is going to be a nice new evolution there. I’m slightly obsessive about keeping my photos properly geo-tagged and organised.

Recently I’ve also been tracking my blood pressure in the Apple Health app. We’ve got a BP monitor here at home, and it’s supposedly bluetooth-enabled, but it requires a dedicated app which doesn’t integrate with Apple Health, and I just don’t feel like putting effort into glueing the two together. I’ll just enter the data manually. I don’t see myself going down the full “quantified self” route, though. The Apple Health app seems like a nice idea for bringing all that health data together. It’s just a pity that none of the tools I actually use for tracking right now integrate with it, and that when I asked my doctor if she could use the data I’d been gathering there she just laughed. I’m not planning to buy an Apple Watch, because I rather enjoy only having to charge my Fitbit once a week.

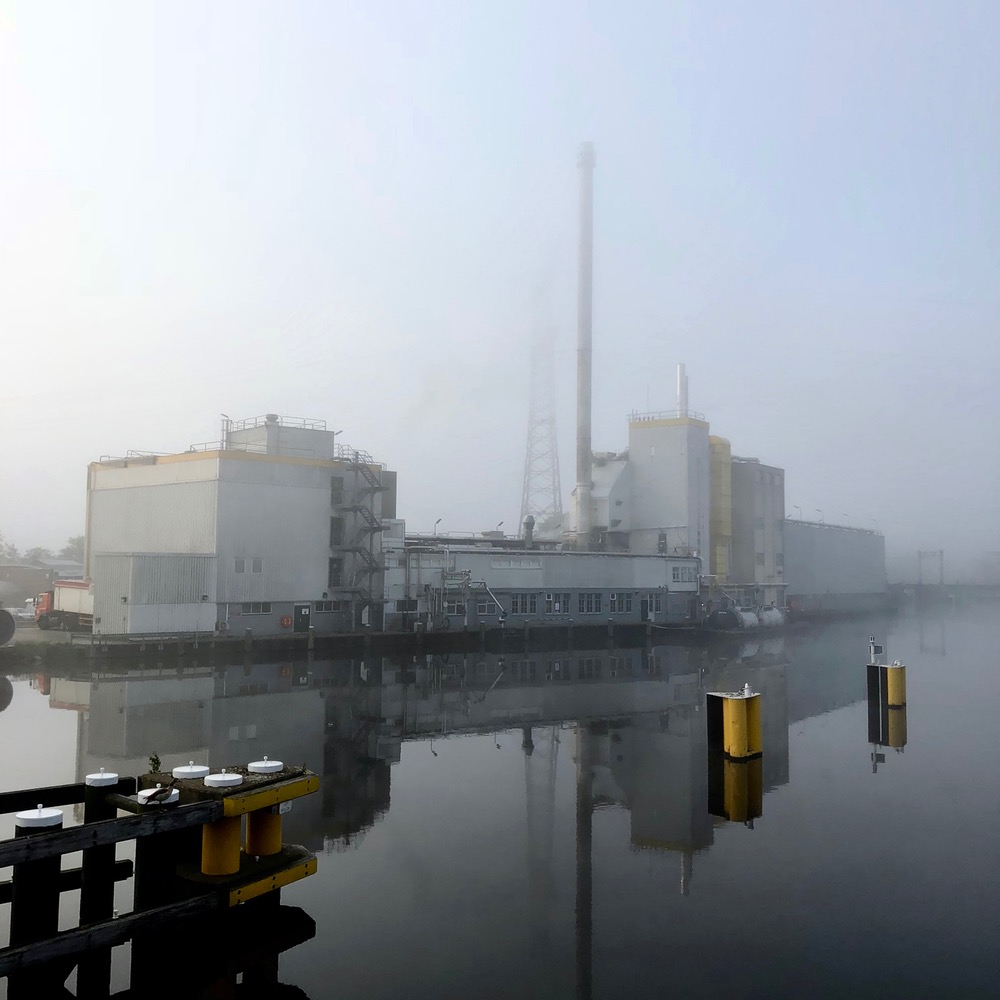
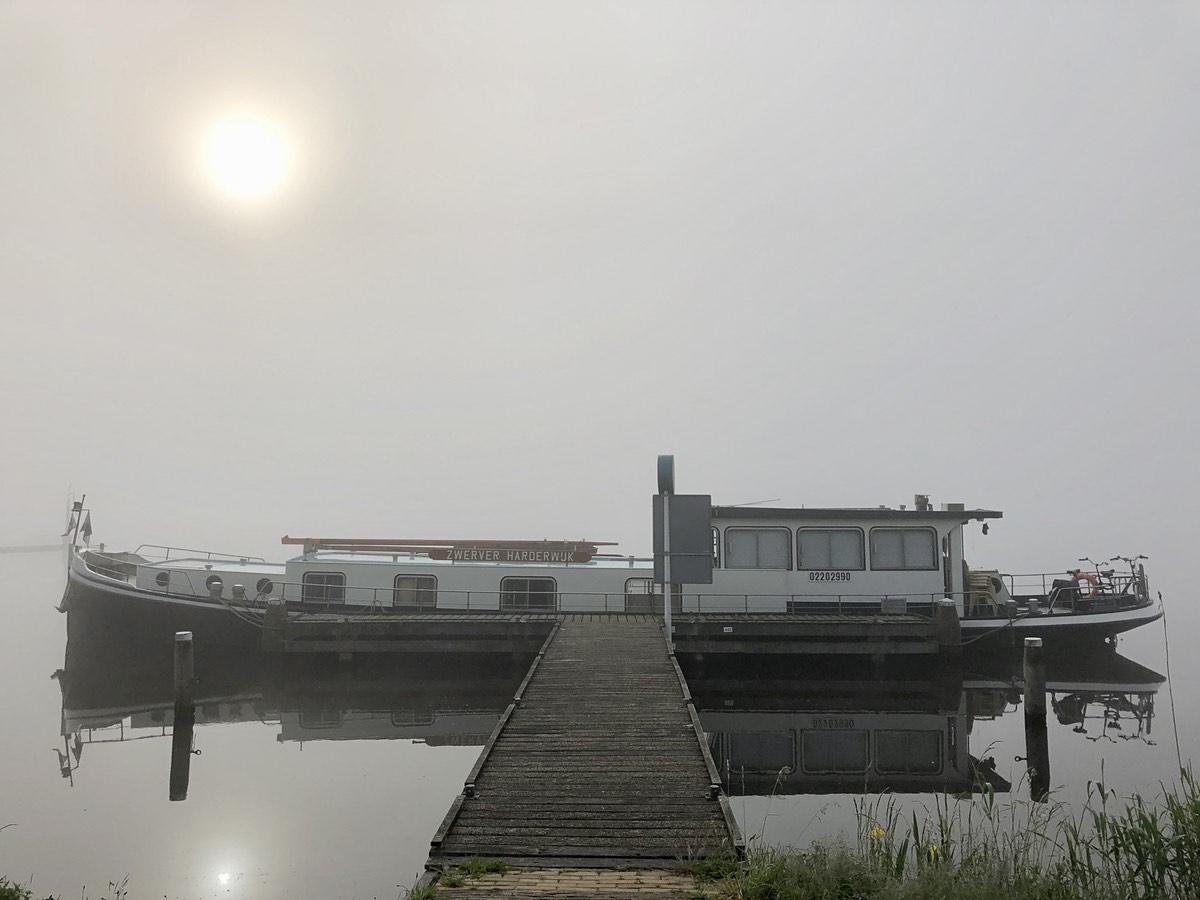
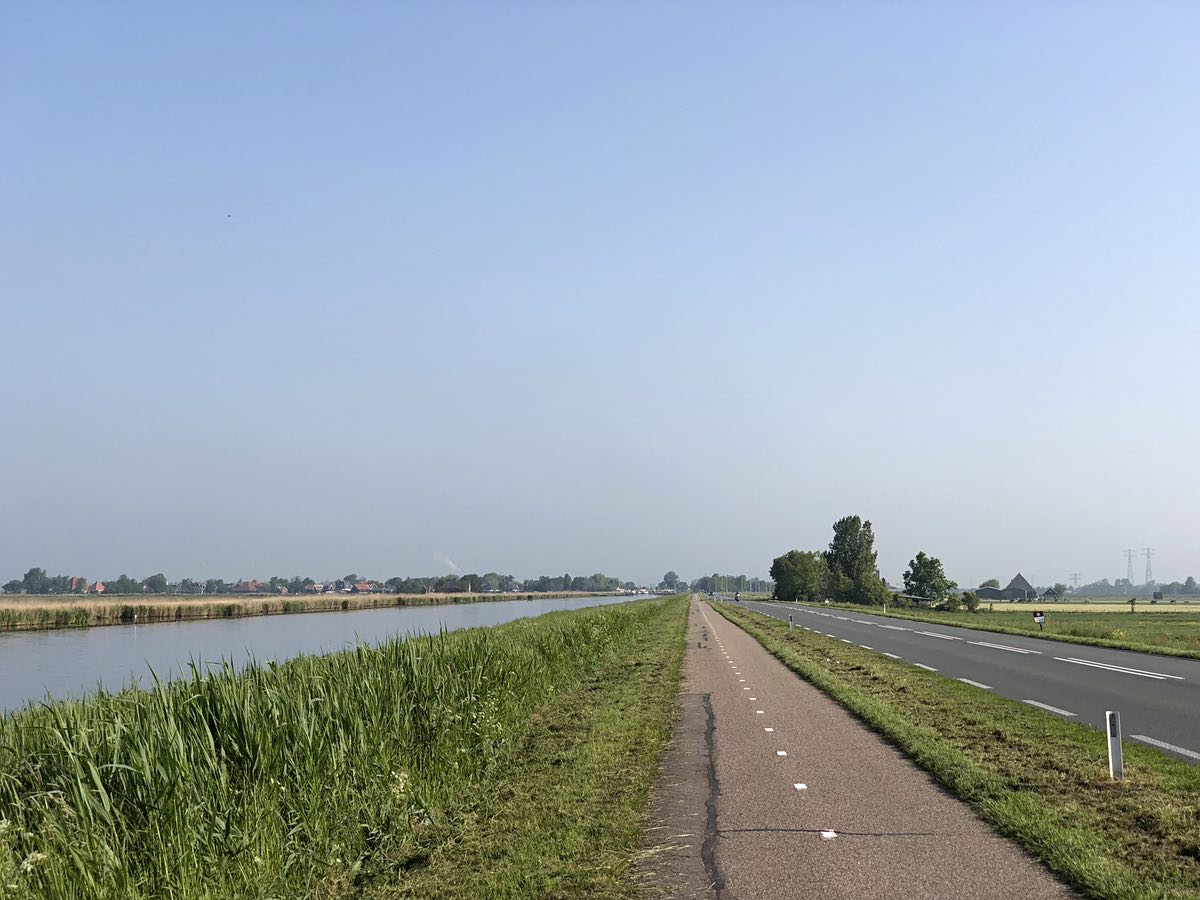
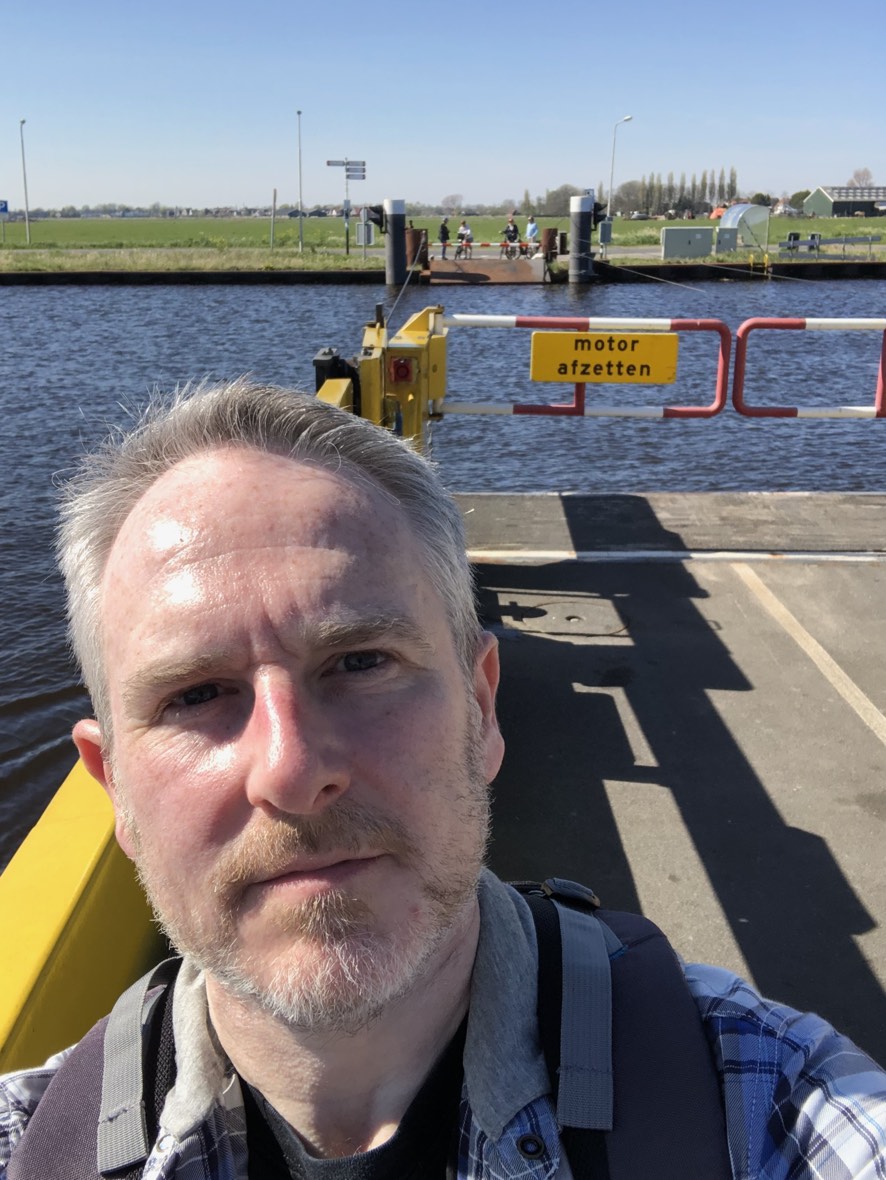
So, back to the actual walk yesterday. I set out about 08:20, later than usual, because I just don’t enjoy early mornings. The first leg was 5km to the Hempont ferry to cross the Noordzeekanaal from Zaandam to Amsterdam. Then an 11km stretch south the the locks at de Nieuwe Meer. (For future walking reference, there’s a public toilet at the control station for the locks!)

Westhavenweg, heading south
House boats near the locks at Nieuwe Meer

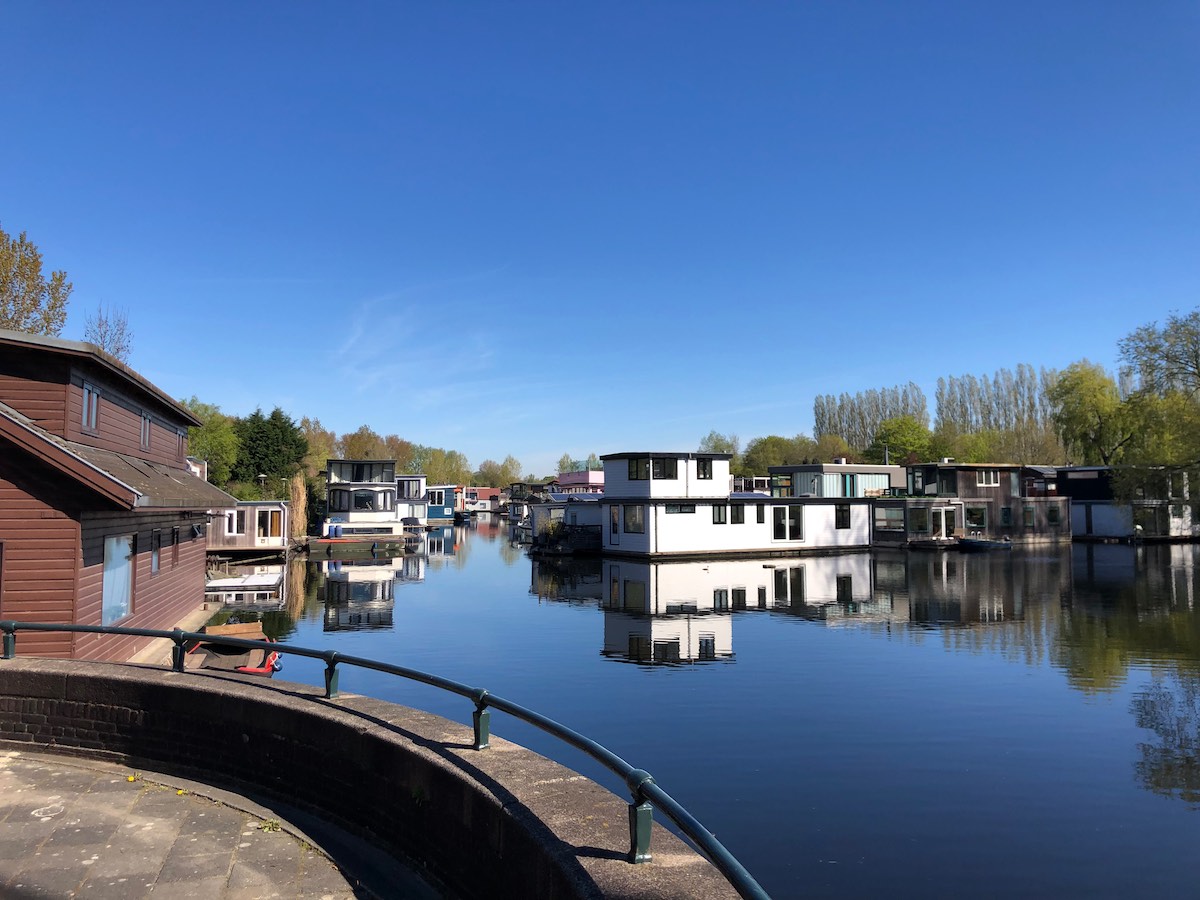
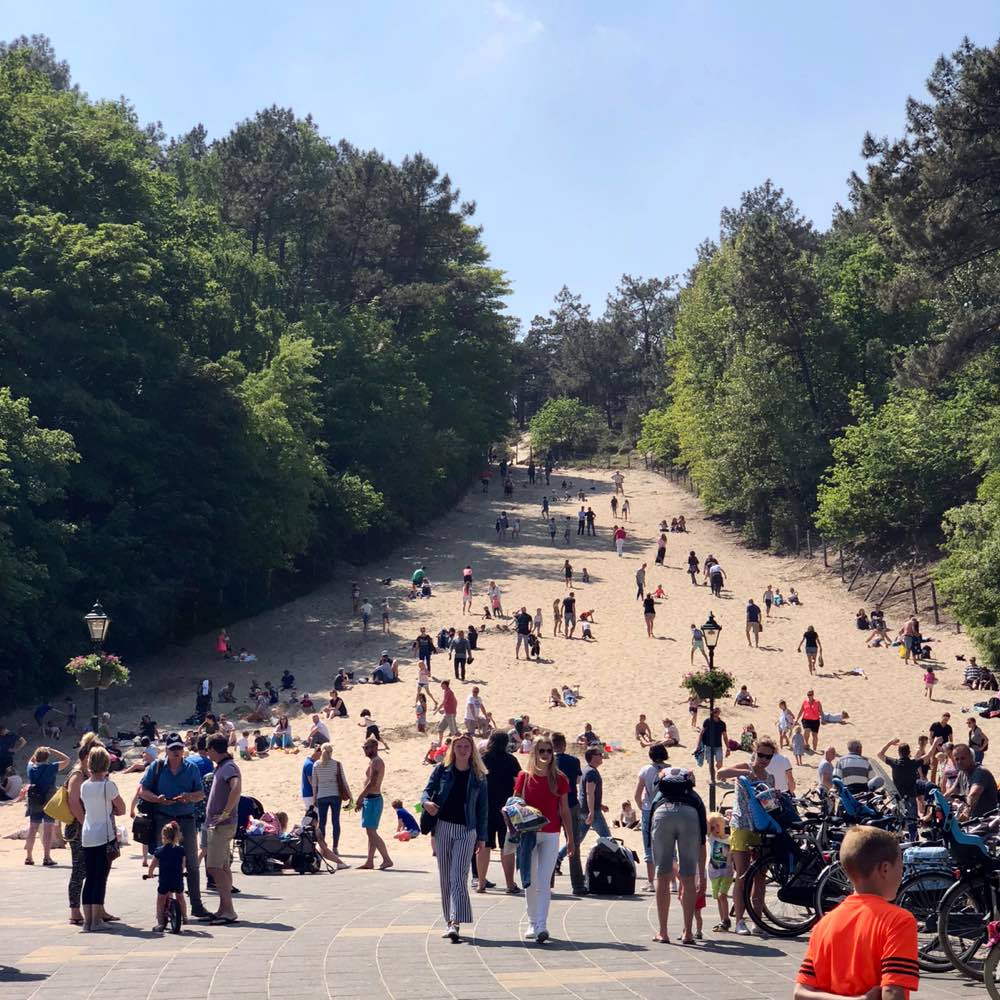
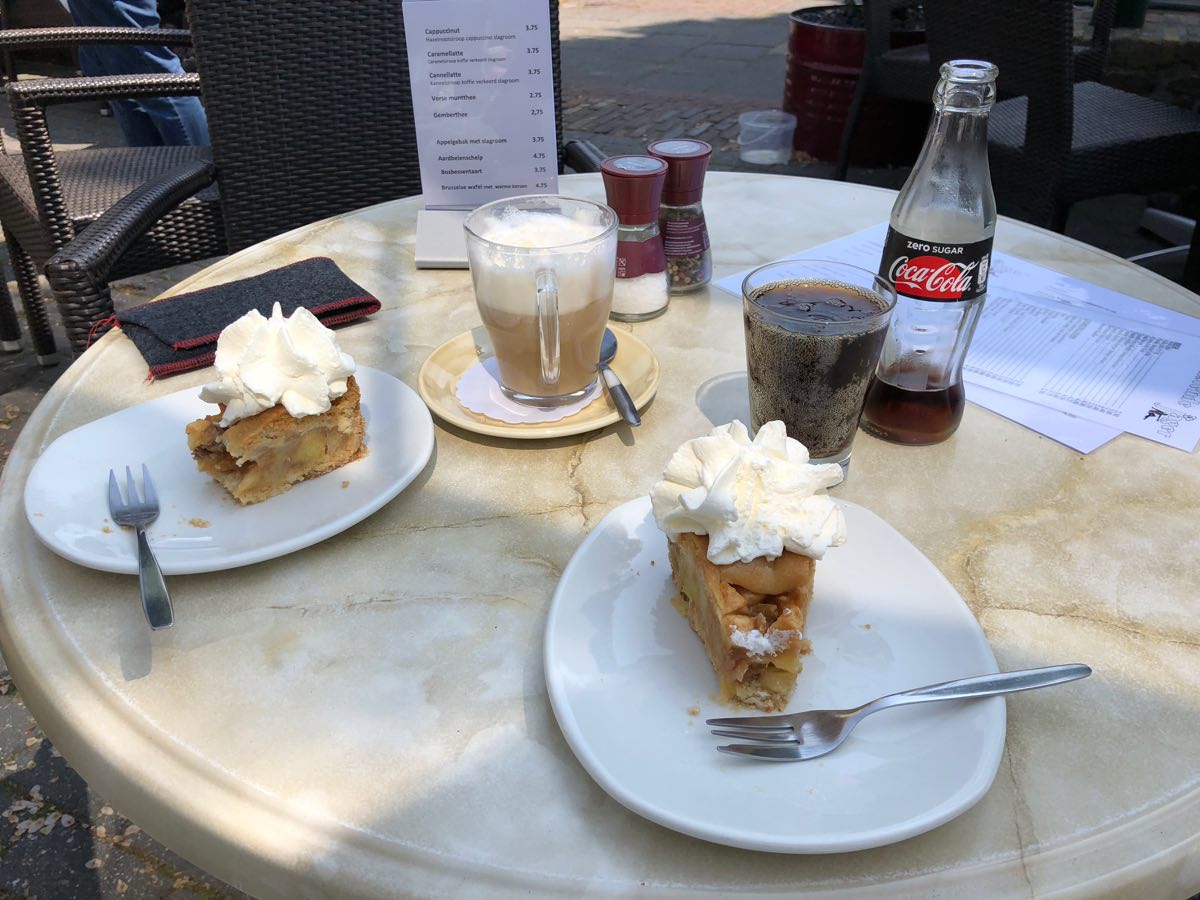
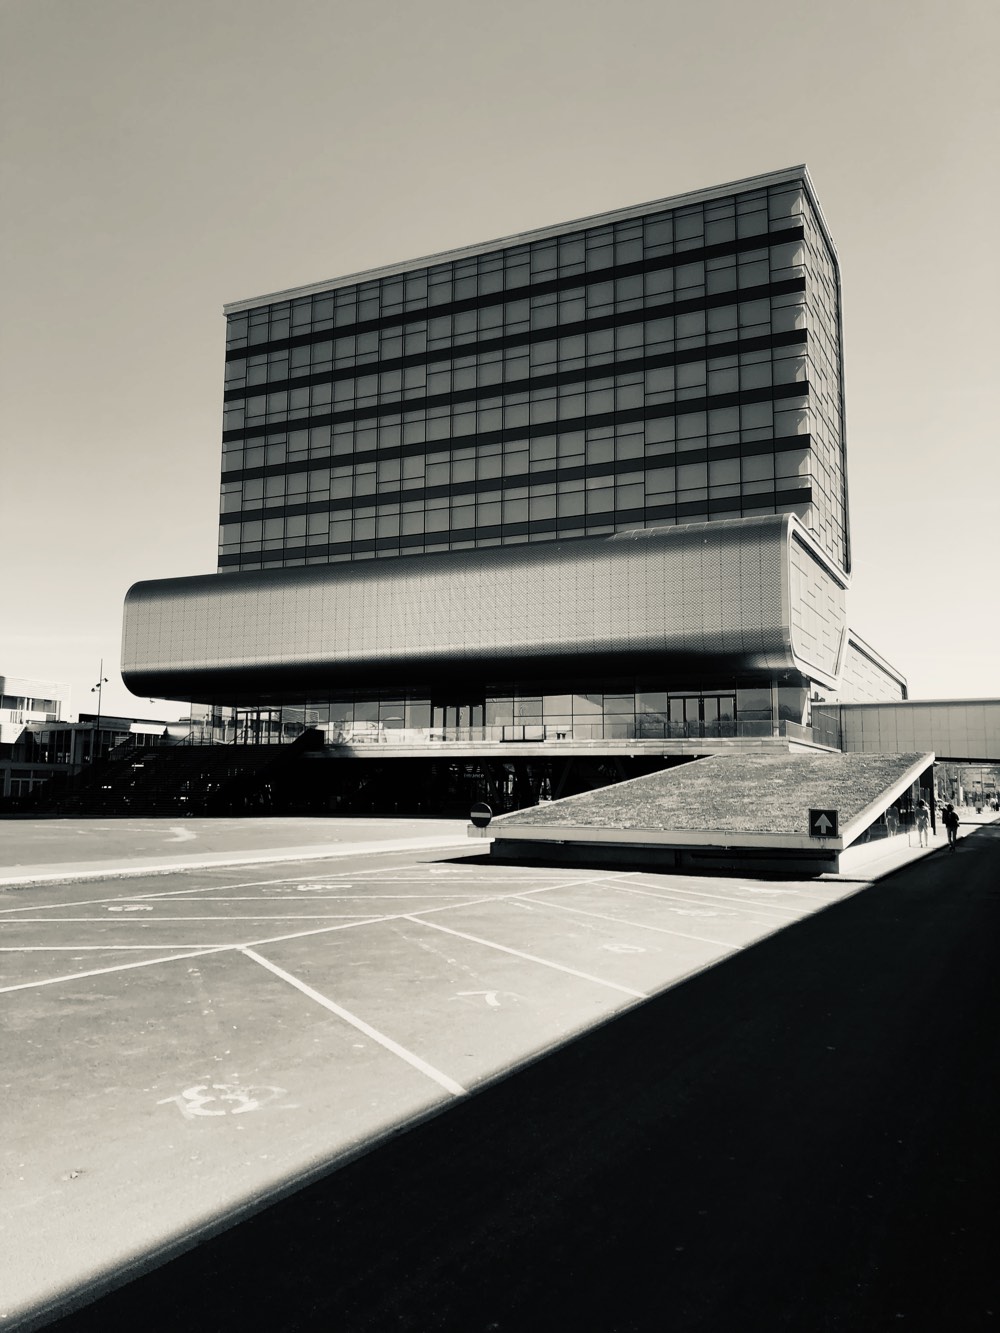
Stopped for a bit at the locks to eat and drink, then struck out east towards the RAI. Passed Fiona’s old school on the way. Beyond the RAI, I skirted the south-east bank of the Amstel (Amstelkwartier & Overamstel), which is lovely, and where I’d never been before.

Amstelkwartier

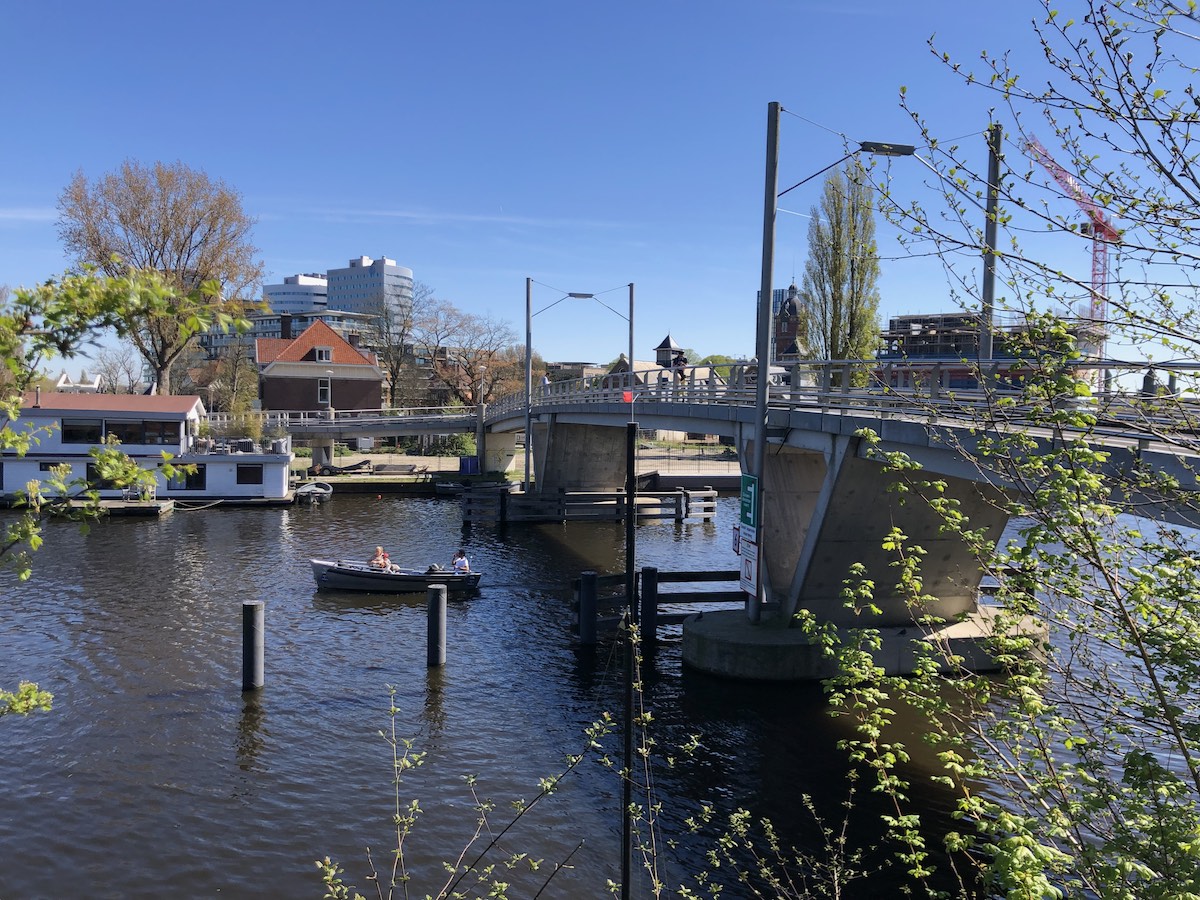
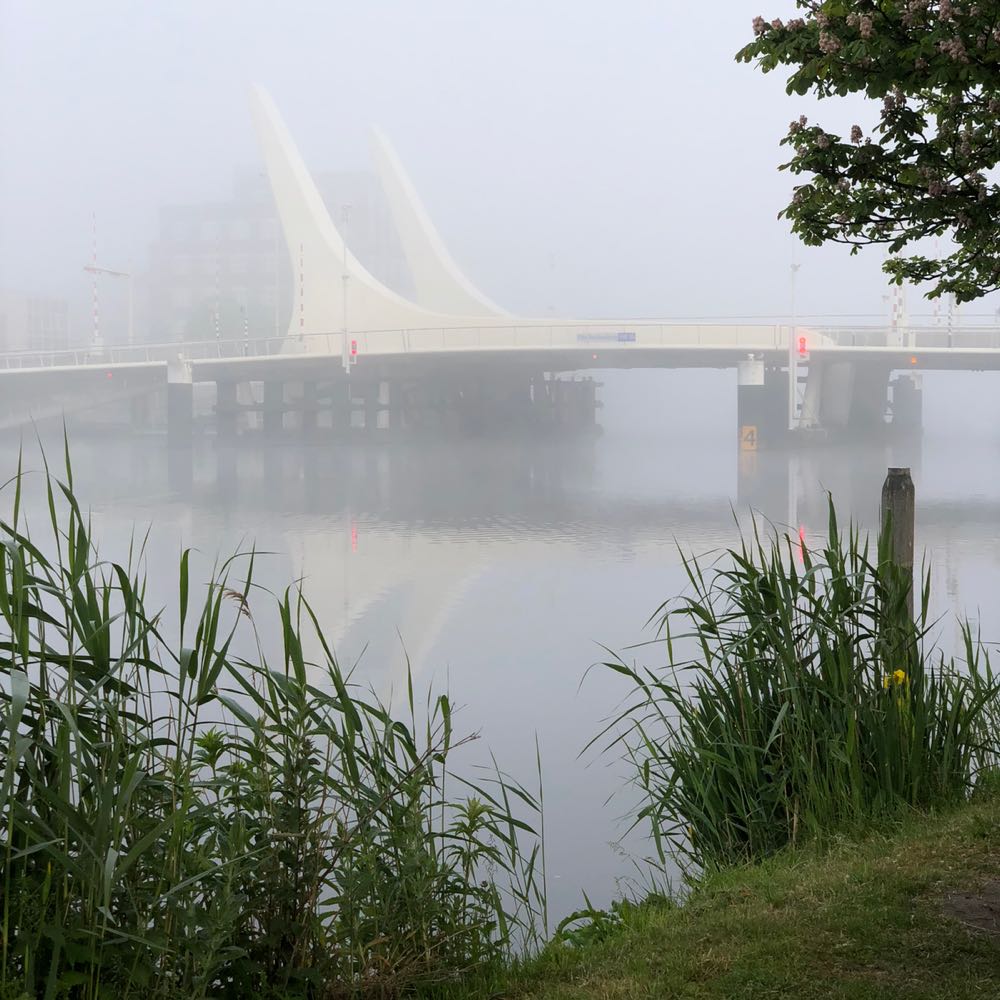
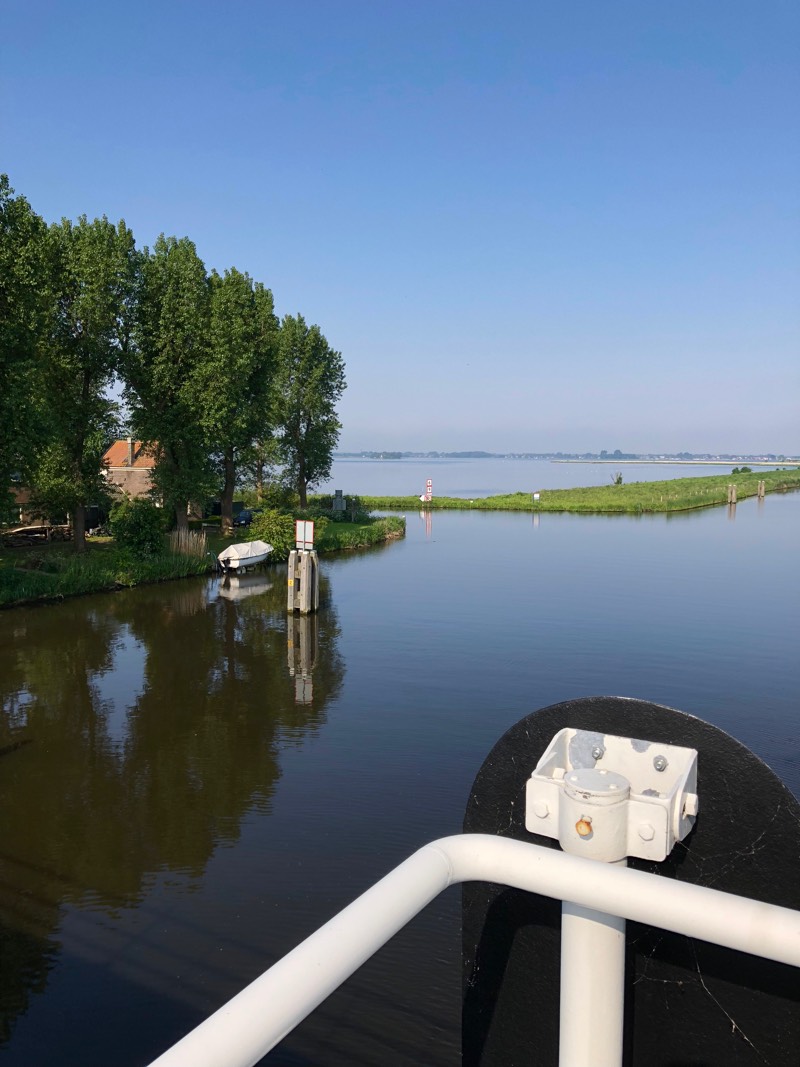
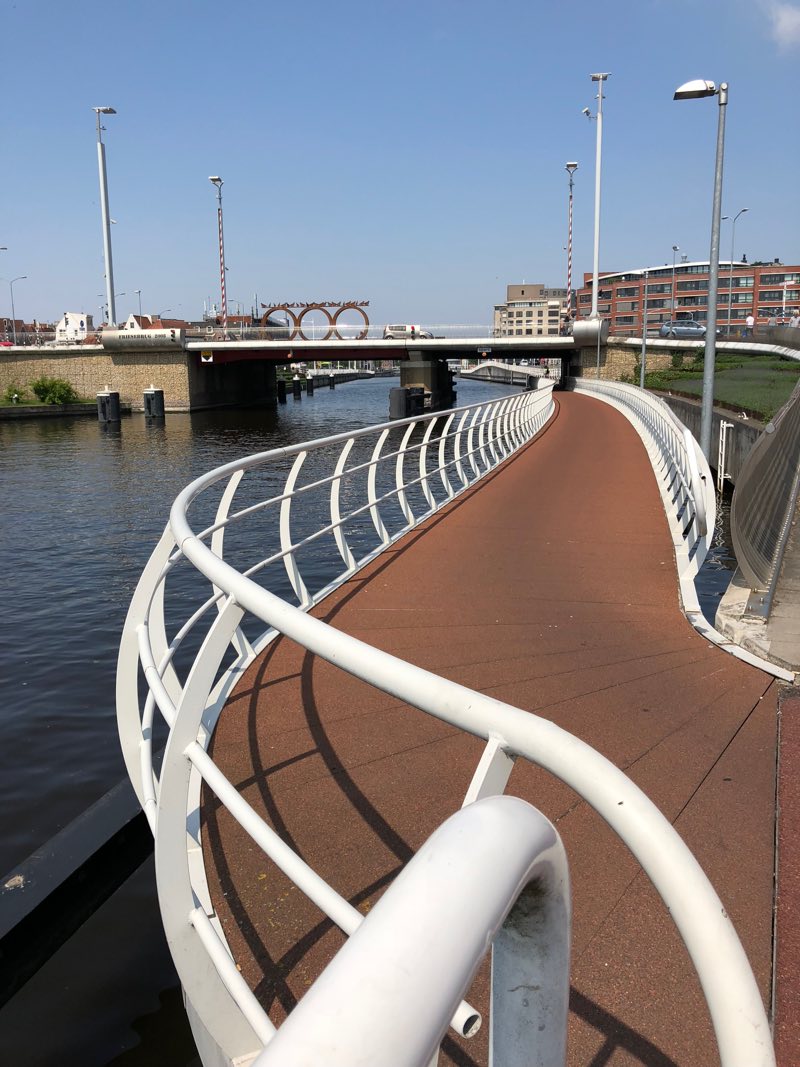
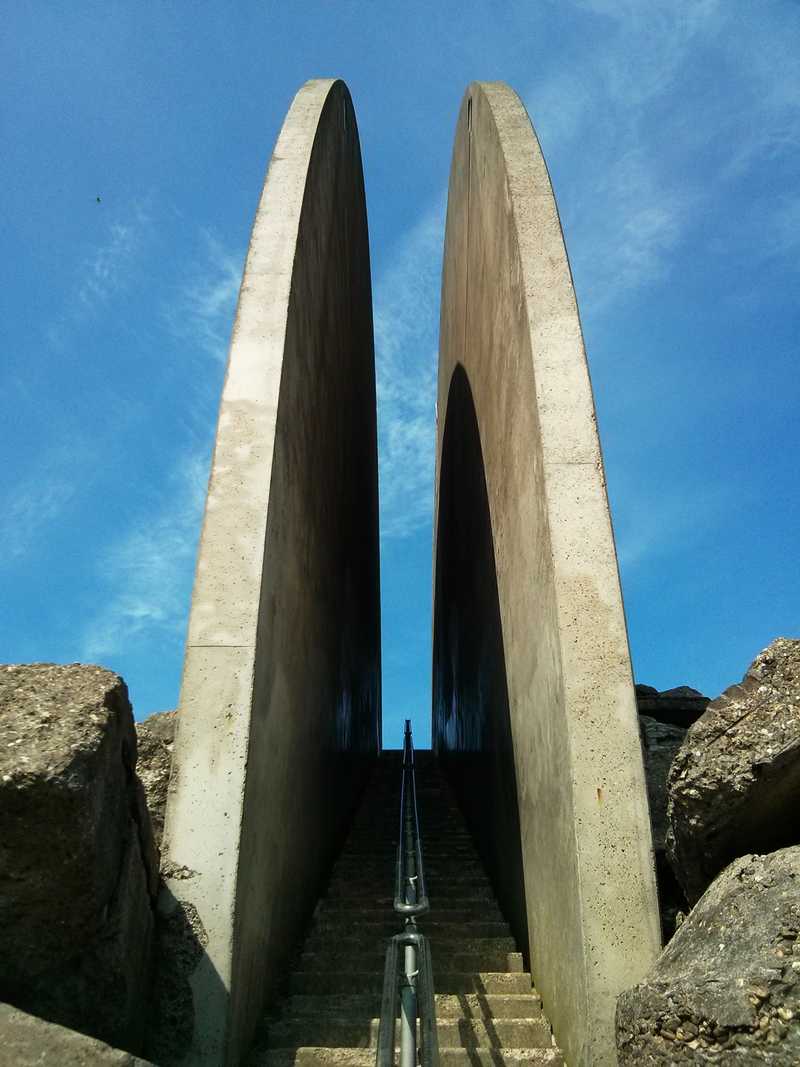
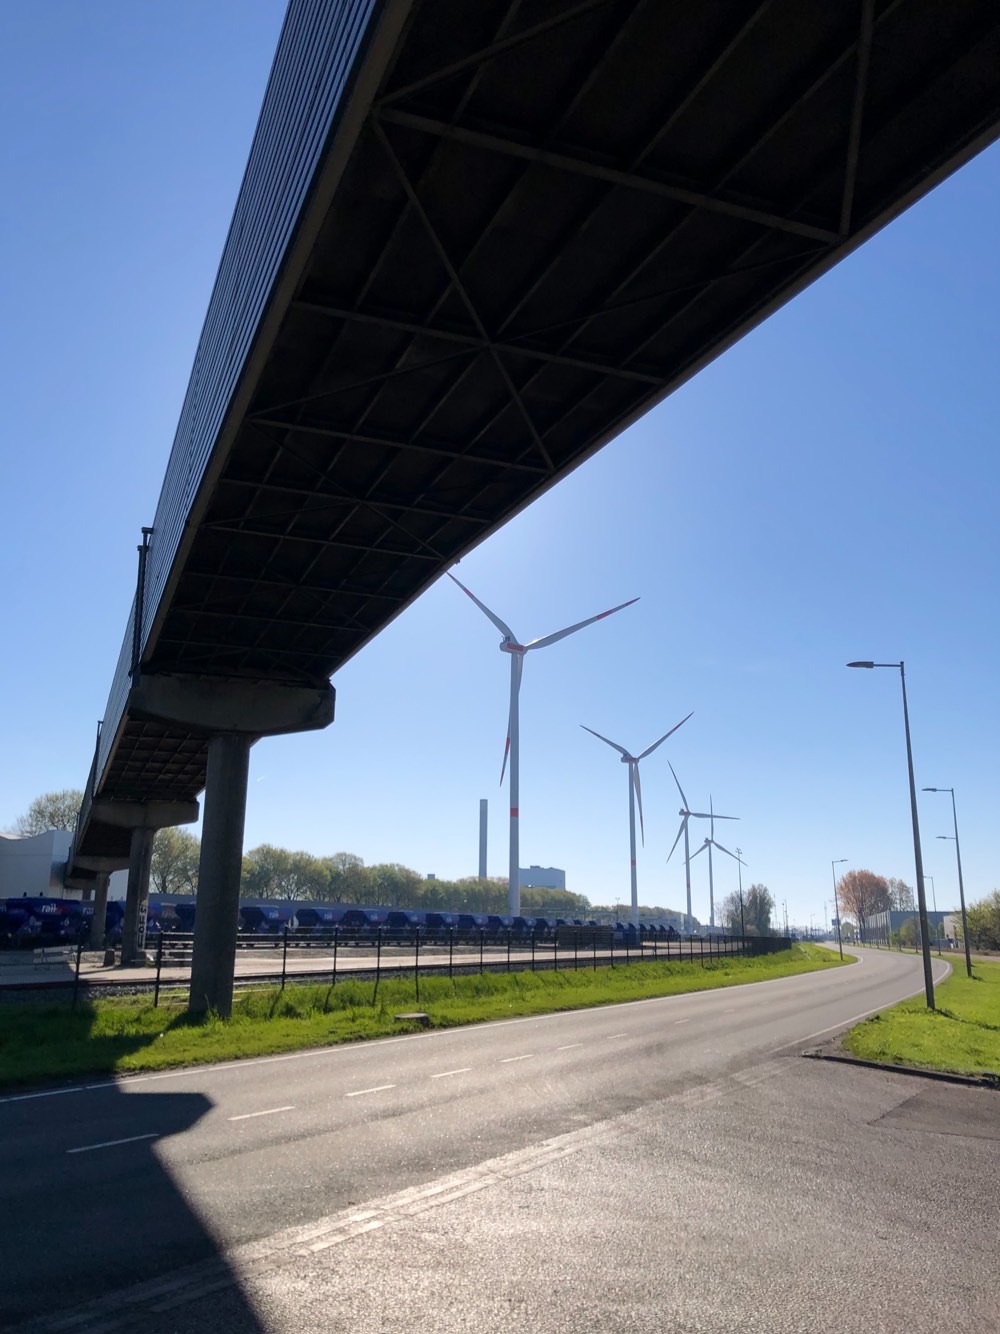
Onwards past Jaap Eden ice rink, through the Amsterdam University science park (also surprisingly nice), along the Amsterdam-Rijkanaal for a bit, then over the IJ at the Schellingwouderbrug, familiar to me as a walking crossing from the Dam-tot-Dam walk.

Schellingwouderbrug

I stopped to eat and take care of my feet just after the Schellingwouderbrug. My left heel had blistered up, and my right heel wasn’t feeling too great. Despite taping they got much worse in the following 6km towards the ferry at Het Schouw, and my gait probably changed in response, which made my calves feel like they were constantly on the verge of cramping up. Annoyingly, I’d also forgotten to un-pause the MapMyWalk app, so I lost the fine details of that stretch. On the other hand, all it would have told me was that my pace had gone off a cliff.

Landsmeer-Schouw ferry

The last 7km or so back through Landsmeer to Oostzaan were slow and painful. I had loved the stretches through Amsterdam (I love this city), and the legs through the peaceful countryside felt a “can we just get this over with” in comparison. Very pretty, but also much more familiar, and I was taking fewer photos along the way. I’d deliberately left my good camera at home, to remove the temptation to stop and take lots of photos along the way and lose momentum, but I can’t just not take photos at all, can I?

Got back home just after 17:00. My legs almost immediately froze up, and Abi & Fiona mocked me for not being able to stand up any more.

I see these spontaneous marathon-length walks as a casual test of my own fitness. If I can make it through a 42km walk on a weekend without prior training and planning, then I’m in “good enough” condition. I’m happy to have lost a bit of weight in the last couple of months, and that probably helps.

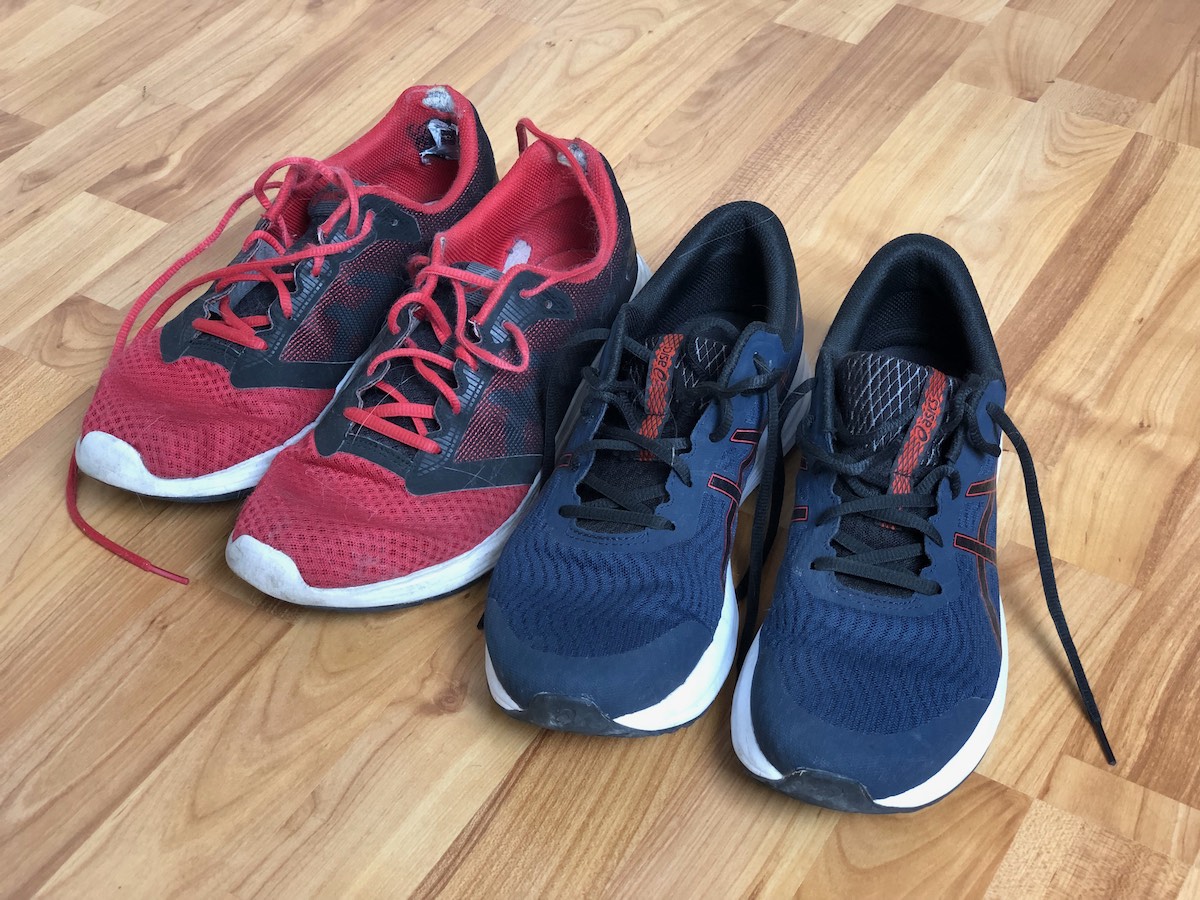
PS: After my black (2017) and then blue (2018) Asics Patriots shoes, I got a pair of red ones in (I think?) early 2019, and I went through the whole pandemic with them. It helped that I wasn’t spending much time walking, or out of the house in general. I loved their colour! But they were getting quite tired and worn, and I bought another pair in February. Blue again, this time. As with the earlier ones, they give my toes lots of freedom, and they’ve very breathable. The heels seem to be where I consistently end up with trouble.

Marathon walk to Schoorl, Sunday 20 May 2018

I got up early and left the house a few minutes after 06:00. The weather forecast was fine and sunny, with the temperature expected to hit 22°C in the afternoon, but at 06:00 it was misty and cool. The roads were dead quiet that time in the morning anyway, but the mist made the first few hours of the walk extra still. It wasn’t a pea-souper; just dense enough for towers and pylons to drift in and out of sight, and for wisps to gather and swirl lazily over the glass-flat canals.

Prins Bernhardbrug, Zaandam

View of Cargill Gerkens Cacao factory from the Willem Alexanderbrug in Zaandam

Ship moored at the Lagedijk, Zaandam

Zaan view at Wormerveer

I walked north-west through Zaandam, Koog aan de Zaan, Wormerveer, along the edge of Markenbinnen, then over the polder to Alkmaar, then finally out to Schoorldam and Schoorl. I hit marathon distance in Schoorldam in 7h 31m, which is a personal best. Apart from wanting to try out my new shoes today, I also wanted to do the walk at a fast pace, just to see what kind of time I could put down. That didn’t quite work out, because I couldn’t stop myself from stopping to take a bunch of pictures along the way. I also spent the first hour stopping a lot to adjust my laces, because I just couldn’t get comfortable with the racer’s loop.

My right foot is slightly smaller than my left. Although my left foot was mostly snug with standard lacing, I could feel my right heel slipping. But when I did tie the right up more tightly, it was painful across the bridge of my foot. I could feel a blister forming on my heel by the end of the first hour, and I regretted taking a new pair of shoes out for a long walk without breaking them in first. I’ll know better next time.

Time-wise, I think I could easily cut off 10 minutes with broken-in shoes and better discipline. With more training, I could probably get my average pace up, too, and take the time down to 7 hours (about 6 km/hour). But that’s not what I’m about. I do big walks to prove to myself that I can do a slow marathon with no preparation beyond bringing enough drinks to stay hydrated; and I really enjoy taking pictures of interesting things along the way. I’m not going to force myself on joyless marches.

Wormerveer panorama
Wormerveer panorama

Starnmeerpolder
Periodic reminder that Noord-Holland is really flat…

View of the Alkmaardermeer
…and wet

Alkmaar
Alkmaar

Crow weathervane Schoorl
Large crow silhouette weathervane in Schoorl, near the N9

I messaged Abi near the end of the walk, and she drove out to Schoorl to meet me for a mid-afternoon coffee. (It was another 2.4km past Schoorldam, giving me a total distance of 44.6km for the day.) I’ve never been to Schoorl before, but maps showed several cafés in the centre. It’s right next to the coastal dunes, and they have the Netherlands’ tallest sand dune (the Klimduin) that runs right down to the village centre, which is pretty cool. A slice of apple pie was a welcome treat to finish the walk.

Martin just after finishing in Schoorl
Obligatory finish line selfie. Look at that puffy face!

Klimduin in Schoorl
Klimduin in Schoorl

apple pie and drinks
Apple pie reward

Photo library work

It’s Alex and Fiona’s herfstvakantie now, and I am off work as well. I’ve spent some of the time consolidating photos from the various places they’ve ended up into a single archive location. This is not a trivial task.

We’ve been taking digital photos since 2000, and we have owned a fair few digital cameras and phones with cameras in that time. After consolidation I’m looking at a folder structure containing 46,947 items, taking up 114GB of space. This is mostly photos, with a few videos as well.

Here are the main sources I’ve been consolidating the photos from:

  • Folders on my hard disk. In the era before phone cameras, I copied photos off of memory cards and into a single date-based folder structure. But inevitably there are stragglers all over the place, in directories like /pictures, /photos, and /pictures/photos.
  • Dropbox, from the time when I was using its camera upload functionality. Over time, this evolved from “attach phone or memory card and let Dropbox do its thing” to “upload directly from my phone using the Dropbox app”.
  • Google Photos, from the time I was using a variety of Android phones (mainly a Nexus 4), and Google would upload pictures directly to its cloud storage.
  • Microsoft OneDrive, from recent usage. It uploads photos from my Lumia 930 directly to cloud storage. I started using this because the Dropbox app on Windows Phone (which should do exactly the same thing) was crashy and unreliable.
  • iPhoto. For a while between about 2010 and 2014, I imported photos into iPhoto for easier viewing and manipulation of things like orientation and date.
  • Apple Photos. In 2015, Apple’s new Photos app took over from iPhoto, and “imported” everything that was already in iPhoto. It also became the repository for my “Photo Stream”, which I still haven’t figured out completely.

This setup is problematic in terms of consistency: where do I look for a photo? First of all, it’s nice to have all of your photos in a single place. But also, without consistency, it’s hard to do good backups. Dropbox, Google Photos, and OneDrive may be cloud storage solutions where you don’t have to take care of backups yourself…but that doesn’t mean I trust them. Cloud services get shut down or die all the time. I prefer the belt and braces approach, where I maintain local backups (copies on multiple hard drives) combined with an off-site cloud backup (currently Crashplan).

Also, just browsing through folders of photos using the Finder on macOS or Explorer on Windows is…ok, but primitive. It’s certainly not fun. Dropbox’s web interface for browsing photos online is…functional. OneDrive is prettier, but unusably slow. iPhoto was pretty, but mainly local. Apple Photos is less pretty, but more functional; mostly local, but with cloud-like sharing capabilities. Google Photos is simple, good for sharing, but less functional.

Then there’s the whole issue of duplication. Something like Apple Photos is designed to import photos into its own library format. With Google Photos you upload your photos to Google, and it handles them remotely. In both cases, you end up with your source photos, and a copy of them in a library. You can do things to the copy, like add descriptions, or group them into albums; the source files are unaffected. On the one hand: the library allows you to do useful things! On the other hand, your useful things are only available in the library. If you decide you want to use a different software tool a few years down the line, what happens to all the work you spent editing the copies? Do you abandon that, or is there an export tool that allows you to take your edits with you? With the new library respect the metadata that came from the old one? And if you export your library, what do you do with the originals? Are they still relevant, or has the copy now become the new primary source?

Segals’s law says, “A person with a watch knows what time it is. A person with two watches is never sure.” Duplication is why it has taken me several days to consolidate my photos.

  • There were times in the past when I was copying photos off of my camera’s memory card, as well as letting Dropbox automatically upload the files.
  • When I was using the Nexus 4, I had Dropbox camera upload running as well as Google’s own Photos import.
  • For a while I was using Dropbox camera upload on my Lumia 930, and copying the files onto my hard disk manually, because the Dropbox app was so unreliable
  • On my iOS devices (iPhone 4 in the past, iPad mini now), photos generally go into Apple’s “Photo Stream”. From there, they usually end up on my laptop, in iPhoto or Apple Photos. (Usually, but not always.) And I usually have Dropbox doing its thing on iOS devices as well.
  • When Apple Photos was released, I tried it, and imported a copy of my iPhoto library.

Ugh. All these import services use different naming standards, sometimes remembering the camera’s original file name, sometimes attaching their own. If they used a date/time file name (e.g. 2016-10-20 11.21.59.jpg), usually these dates match, but not always. (OneDrive and Dropbox caused the most disagreements.)

But not only that: with the exception of pulling images off of a memory card or phone manually, all of these magical import/upload processes are less than 100% reliable. (They’re close, but definitely not 100%.) Sometimes they just fail to grab one or more pictures out of a batch. Sometimes the Apple Photo stream doesn’t copy pictures to the Photos app. The iPhoto to Apple Photos library import failed to copy a bunch of videos. This all adds up to many hours of work, manually checking folders against each other, deleting duplicates, and copying missing items. (Fortunately this was only for pictures from mid-2011 and onwards. I wasn’t using overlapping automated tools before then.)

As an aside, my camera usage has shifted substantially over the last five years. Although we still have our old Konica Minolta DiMAGE A200, I hardly use it at all now. On our trip to California in the summer, I didn’t even bring it with us. But reviewing thousands of photos from mixed sources in a short span of time has made it abundantly clear that the ten-year-old consumer-level A200 (which isn’t even a DSLR) still takes much better photos than the best of the smartphones we use right now.

There are features that the A200 lacks. Portability is the big one. I always have my phone with me; bringing the big camera makes any trip feel like an undertaking. It still uses old and slow CF memory cards; the auto-focus is relatively slow; the camera doesn’t have GPS for adding location to photos; it doesn’t even have an orientation sensor, which means lots of sideways photos to review. But the image quality makes me think that I shouldn’t be pining for a new phone, but looking for a new dedicated camera instead. The current crop of “superzoom” cameras looks amazing.

Having just trawled through thousands of photos, I’m keen not to repeat that experience. I want a process that will make it easier for me to gather, review, and share my photos in the future. The process has to separate four key stages: ingest, consolidate, tag, and share.

The first part, ingest is all about getting photos off of the camera or device. On a smartphone/tablet that could be Dropbox, OneDrive, or Apple’s Photo stream — I don’t really care, so long as it grabs all photos and videos at full resolution. For a standalone camera, I can manually grab the images from its memory card. (Or, if I get a new one, hook it up to wifi.)

Consolidate means taking the images from where the ingestion step put them, putting them into my central storage area, and organizing them into my preferred folder structure. The folder structure looks like YYYY/YYYYMMDD XXXXX/photo.jpg, where XXXXX is a short text summary of the event in that folder. This is a “date + event” model:

  • If an event covers more than one date, use multiple folders, e.g.
    • 20160719 Edinburgh trip
    • 20160720 Edinburgh trip
  • If a date covers more than one event, use multiple folders, e.g.
    • 20161019 Twiske molen damage
    • 20161019 Evening
  • In case of no obvious event description, use the naked date, e.g.
    • 20150406

The central storage area is an external hard drive that I mirror to a second drive nightly using SuperDuper. It also gets backed up to an external location as part of my Crashplan subscription.

The third stage is to tag the photos that have been organized. Photos coming off of modern smartphone already contain Exif information showing date and time, camera orientation, and GPS coordinates. These are main ones I care about. Sometimes the phone gets it wrong, though, for example if location services were off, or failed to capture my position correctly; or if I forgot to change the time zone after a flight. Photos from the A200 only have date and time information, no orientation or location data. In any case, it pays to do a pass over the photos to check and fix missing or inaccurate Exif data. (I can see myself writing a few scripts to help out with this.)

The final step is to share the photos: with friends and family, and also with my future self. I think I’ll use Google Photos for this, because it makes sharing with others easiest. Apple Photos has a nicer and more responsive interface for viewing photos locally (sharing with my future self), but if I want to share the whole library with Abi, and allow her to make new albums with its photos, I’d have to figure out Apple’s home sharing options and shared photo streams, and I just don’t trust Apple to have my very particular use case in mind. With Google Photos I can just set up a new Google account that both Abi and I have the password to. Google makes it easy to switch between multiple accounts these days.

It’s important that the tag and share steps are separate. I want as much metadata as possible to reside in the source image, not in the copy that the sharing service has. That makes it much easier to switch services in the future. I may trust Google more now than I did in the past (the Lindy effect comes into play here), but doing things like editing GPS coordinates only on the copy seems like a bad idea no matter what company runs the service.

(It looks like neither Google Photos nor Apple Photos use the “Image Description” Exif field for display purposes, which is a pity. Seeing as I have event description in the folder name anyway, I could update the photos with that text as well, and make the photos even more self-describing.)

Separating all of these steps might seem like a huge amount of bother. Google Photos and Apple Photos exist precisely to combine all of these steps, to make it easier and faster to get from taking the photo to sharing it. And that’s great, up to a point. But with 50,000 images, many of which are immeasurably precious to me, and a healthy mistrust of both hard disks and cloud services, I’m well beyond that point. I need more control.

Alex in 2002. One of my brushes with catastrophic data loss.

With this new process, I have only got as far as the consolidation step. I still need to go through the consolidated images and fix the tags. But I can do that slowly, over time, and add them to the sharing service whenever I’m done with a folder. I felt that the consolidation step needed much more concentrated effort to get me over the initial hump, though. Tagging and sharing photos feels like fun, something I can do for an hour in an evening; comparing folders to find the missing images is work that I wanted to get done in as short a time as possible. Having a few days off was useful for just blasting through it.

Finally: watching myself gain weight in fast-forward over the last three years was not fun. Maybe this will be the spur I need to get back on the Flickr Diet.

Walk to Velsen Zuid

On Saturday Abi and I took a long walk from Oostzaan to Velsen Zuid. Our original plan had been to walk a bit farther to IJmuiden and then take the green “Fast Flying Ferry” hydrofoil back to Amsterdam, but unfortunately the service has stopped. It was shut down on 1st January because of low passenger numbers. Alex and Fiona went on it once a few years ago, but I never got the chance – pity.

We left the house around 08:30, and had amazing walking weather. Blue skies, temperature rising through the mid teens, and a very light haze that burned off later in the morning. Our route took us over the Den Uylbrug, along the north shore of the Noordzeekanaal, and through Overtoom and Nauerna. We took the Spaarndam-Buitenhuizen ferry across the Noordzeekanaal, and then walked through Spaarnwoude to the edge of Velsen Zuid, where we caught the 82 bus into Amsterdam.

I’ve played golf at Spaarnwoude, but this was the first time I’d explored more of the recreation area on foot, and it’s lovely. Towards the end of the walk, we took a detour from the direct path to visit an outlook point (on a hill — a hill!) and a signposted art object. This turned out to be the enormous piece “Klimwand en Schijf in Grofpuinheuvel” (Climbing Wall and Disc in a Mound of Rubble) by Dutch sculptor Frans De Wit.

It does exactly what it says on the tin: a free-standing public climbing wall (no entrance fee; just bring your own gear) in line with two massive concrete discs embedded in a man-made hill of rocks. There’s a narrow staircase betwene the discs, and when you climb it you can see that the climbing wall is exactly in line with the discs. It’s super impressive.

Between the Den Uylbrug and the Noordzeekanaal

Ships unloading in the Westhaven

Klimwand en Schijf in Grofpuinheuvel by Frans de Wit

Climbing wall

The stairs leading up between the two discs