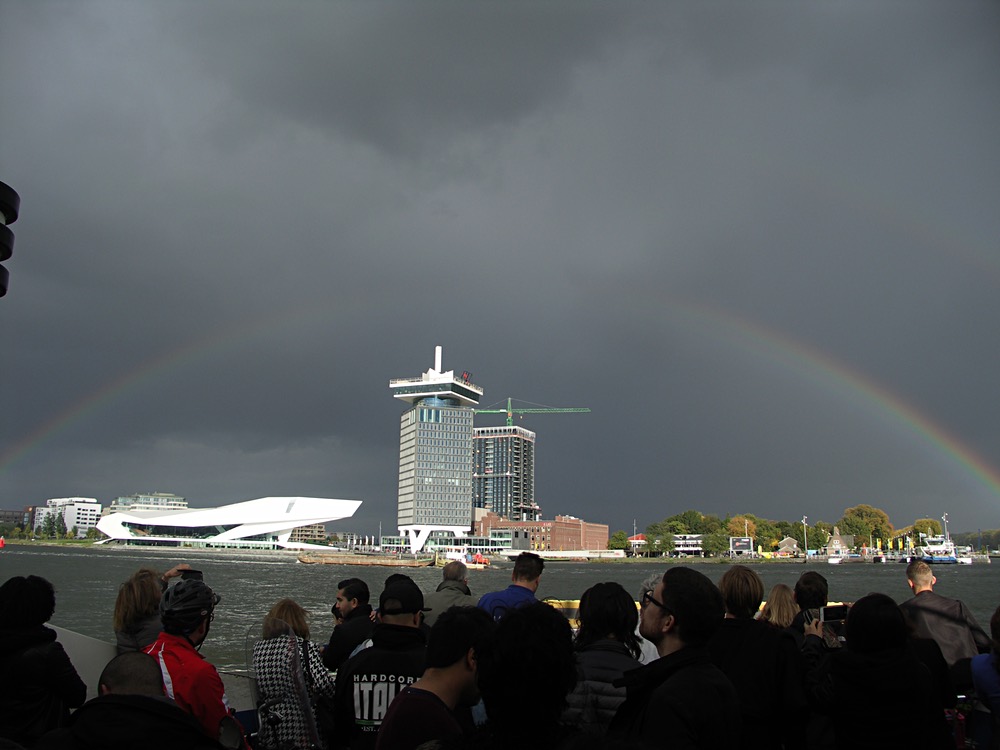
Nice work on the lighting effects.
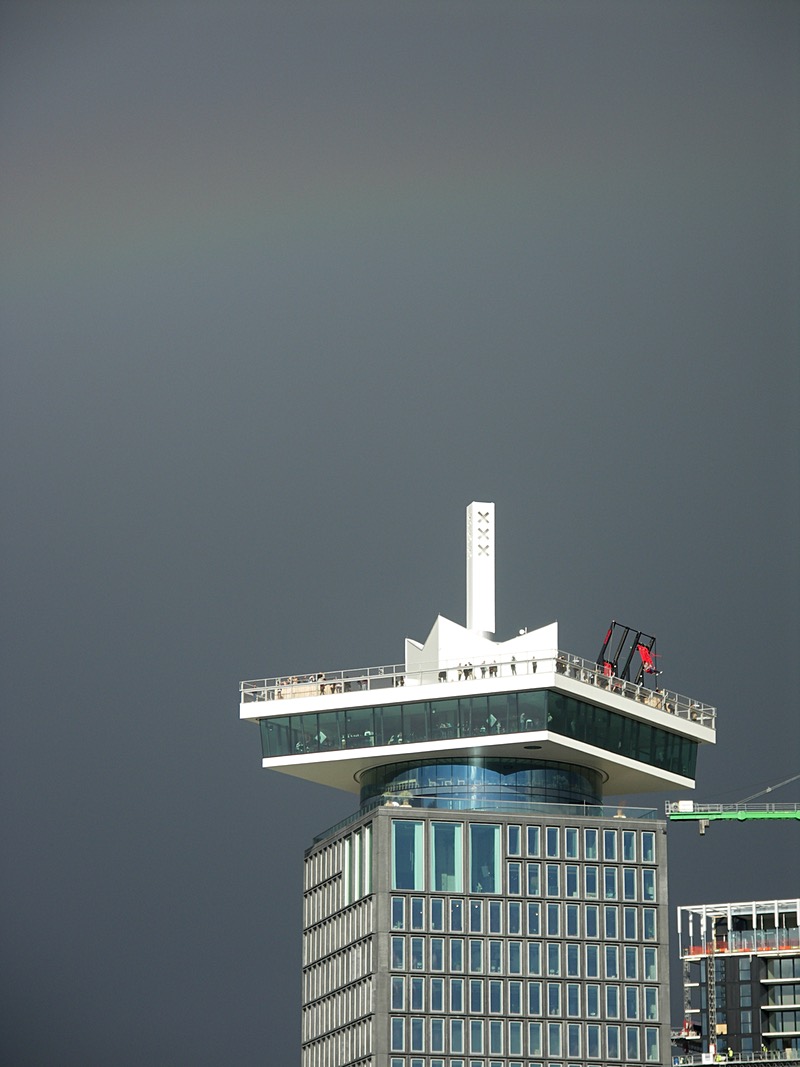
Also, good job Google Photos on the auto-enhance:

From my new Google account for shared photos, as part of my new photos workflow, Google selected that one for “auto-enhancement”.)
No gods, no kings, no billionaires
Nice work on the lighting effects.


Also, good job Google Photos on the auto-enhance:

From my new Google account for shared photos, as part of my new photos workflow, Google selected that one for “auto-enhancement”.)
Our local landmark the Twiskemolen (Twiske windmill) was devastated the other day when a small tornado (yes, really) whipped through the area and ripped off its blades. I took a walk yesterday to see it for myself.
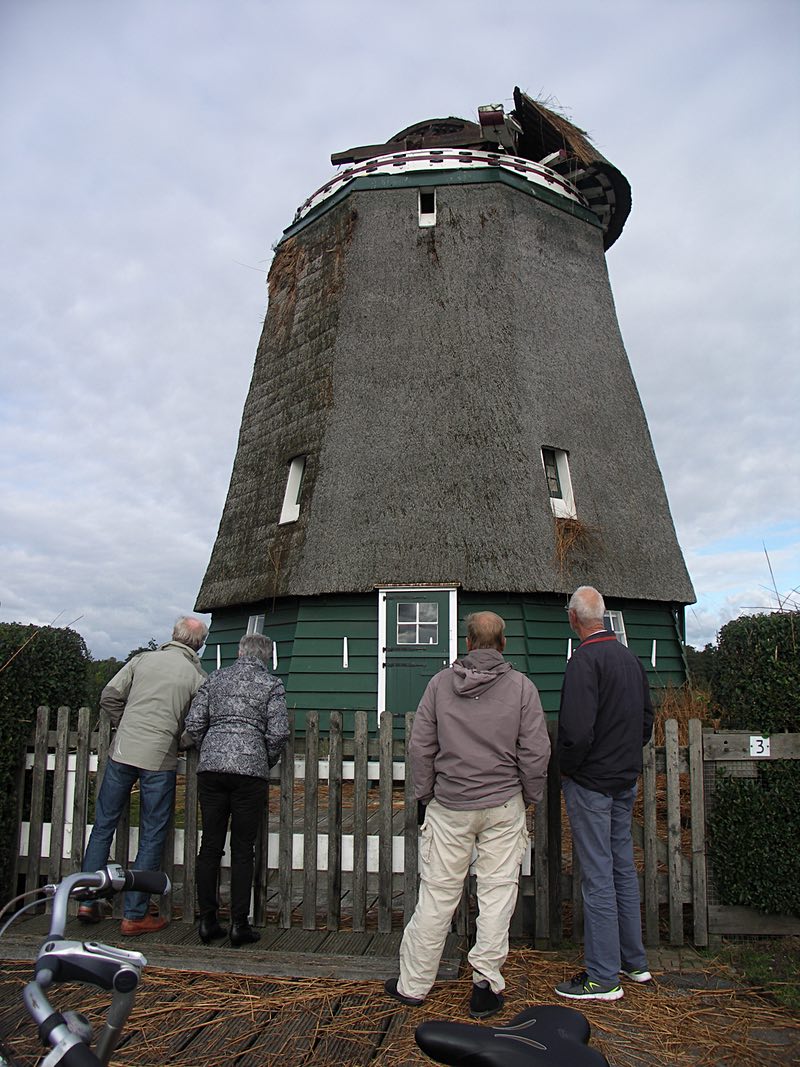
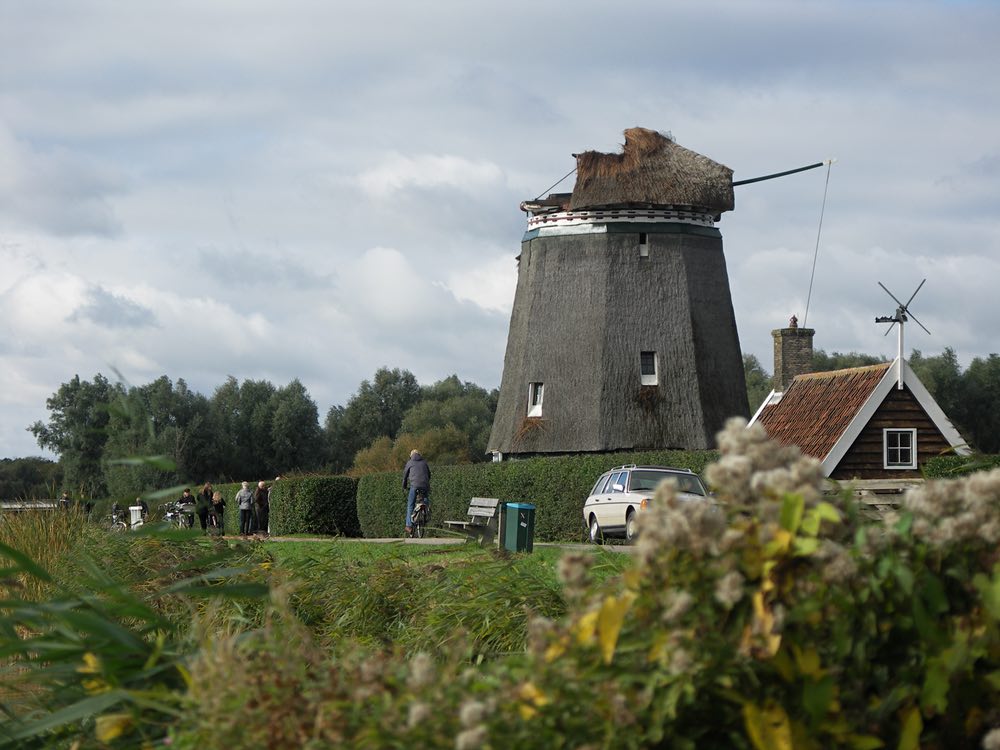
For reference, here’s what it looked like on 10th May 2015, when kids from the local schools had painted special decorative sails for the windmill’s anniversary celebrations:

I hope it can be repaired.
It’s Alex and Fiona’s herfstvakantie now, and I am off work as well. I’ve spent some of the time consolidating photos from the various places they’ve ended up into a single archive location. This is not a trivial task.
We’ve been taking digital photos since 2000, and we have owned a fair few digital cameras and phones with cameras in that time. After consolidation I’m looking at a folder structure containing 46,947 items, taking up 114GB of space. This is mostly photos, with a few videos as well.
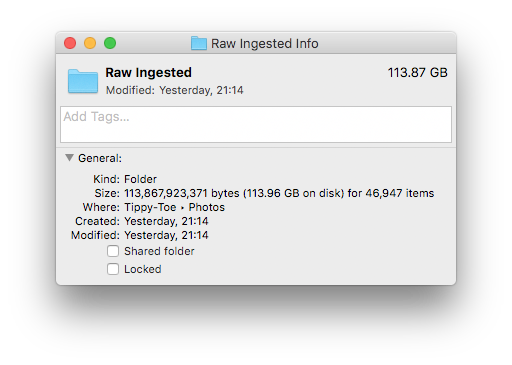
Here are the main sources I’ve been consolidating the photos from:
/pictures, /photos, and /pictures/photos.This setup is problematic in terms of consistency: where do I look for a photo? First of all, it’s nice to have all of your photos in a single place. But also, without consistency, it’s hard to do good backups. Dropbox, Google Photos, and OneDrive may be cloud storage solutions where you don’t have to take care of backups yourself…but that doesn’t mean I trust them. Cloud services get shut down or die all the time. I prefer the belt and braces approach, where I maintain local backups (copies on multiple hard drives) combined with an off-site cloud backup (currently Crashplan).
Also, just browsing through folders of photos using the Finder on macOS or Explorer on Windows is…ok, but primitive. It’s certainly not fun. Dropbox’s web interface for browsing photos online is…functional. OneDrive is prettier, but unusably slow. iPhoto was pretty, but mainly local. Apple Photos is less pretty, but more functional; mostly local, but with cloud-like sharing capabilities. Google Photos is simple, good for sharing, but less functional.
Then there’s the whole issue of duplication. Something like Apple Photos is designed to import photos into its own library format. With Google Photos you upload your photos to Google, and it handles them remotely. In both cases, you end up with your source photos, and a copy of them in a library. You can do things to the copy, like add descriptions, or group them into albums; the source files are unaffected. On the one hand: the library allows you to do useful things! On the other hand, your useful things are only available in the library. If you decide you want to use a different software tool a few years down the line, what happens to all the work you spent editing the copies? Do you abandon that, or is there an export tool that allows you to take your edits with you? With the new library respect the metadata that came from the old one? And if you export your library, what do you do with the originals? Are they still relevant, or has the copy now become the new primary source?
Segals’s law says, “A person with a watch knows what time it is. A person with two watches is never sure.” Duplication is why it has taken me several days to consolidate my photos.
Ugh. All these import services use different naming standards, sometimes remembering the camera’s original file name, sometimes attaching their own. If they used a date/time file name (e.g. 2016-10-20 11.21.59.jpg), usually these dates match, but not always. (OneDrive and Dropbox caused the most disagreements.)
But not only that: with the exception of pulling images off of a memory card or phone manually, all of these magical import/upload processes are less than 100% reliable. (They’re close, but definitely not 100%.) Sometimes they just fail to grab one or more pictures out of a batch. Sometimes the Apple Photo stream doesn’t copy pictures to the Photos app. The iPhoto to Apple Photos library import failed to copy a bunch of videos. This all adds up to many hours of work, manually checking folders against each other, deleting duplicates, and copying missing items. (Fortunately this was only for pictures from mid-2011 and onwards. I wasn’t using overlapping automated tools before then.)
As an aside, my camera usage has shifted substantially over the last five years. Although we still have our old Konica Minolta DiMAGE A200, I hardly use it at all now. On our trip to California in the summer, I didn’t even bring it with us. But reviewing thousands of photos from mixed sources in a short span of time has made it abundantly clear that the ten-year-old consumer-level A200 (which isn’t even a DSLR) still takes much better photos than the best of the smartphones we use right now.
There are features that the A200 lacks. Portability is the big one. I always have my phone with me; bringing the big camera makes any trip feel like an undertaking. It still uses old and slow CF memory cards; the auto-focus is relatively slow; the camera doesn’t have GPS for adding location to photos; it doesn’t even have an orientation sensor, which means lots of sideways photos to review. But the image quality makes me think that I shouldn’t be pining for a new phone, but looking for a new dedicated camera instead. The current crop of “superzoom” cameras looks amazing.
Having just trawled through thousands of photos, I’m keen not to repeat that experience. I want a process that will make it easier for me to gather, review, and share my photos in the future. The process has to separate four key stages: ingest, consolidate, tag, and share.
The first part, ingest is all about getting photos off of the camera or device. On a smartphone/tablet that could be Dropbox, OneDrive, or Apple’s Photo stream — I don’t really care, so long as it grabs all photos and videos at full resolution. For a standalone camera, I can manually grab the images from its memory card. (Or, if I get a new one, hook it up to wifi.)
Consolidate means taking the images from where the ingestion step put them, putting them into my central storage area, and organizing them into my preferred folder structure. The folder structure looks like YYYY/YYYYMMDD XXXXX/photo.jpg, where XXXXX is a short text summary of the event in that folder. This is a “date + event” model:
20160719 Edinburgh trip20160720 Edinburgh trip20161019 Twiske molen damage20161019 Evening20150406The central storage area is an external hard drive that I mirror to a second drive nightly using SuperDuper. It also gets backed up to an external location as part of my Crashplan subscription.
The third stage is to tag the photos that have been organized. Photos coming off of modern smartphone already contain Exif information showing date and time, camera orientation, and GPS coordinates. These are main ones I care about. Sometimes the phone gets it wrong, though, for example if location services were off, or failed to capture my position correctly; or if I forgot to change the time zone after a flight. Photos from the A200 only have date and time information, no orientation or location data. In any case, it pays to do a pass over the photos to check and fix missing or inaccurate Exif data. (I can see myself writing a few scripts to help out with this.)
The final step is to share the photos: with friends and family, and also with my future self. I think I’ll use Google Photos for this, because it makes sharing with others easiest. Apple Photos has a nicer and more responsive interface for viewing photos locally (sharing with my future self), but if I want to share the whole library with Abi, and allow her to make new albums with its photos, I’d have to figure out Apple’s home sharing options and shared photo streams, and I just don’t trust Apple to have my very particular use case in mind. With Google Photos I can just set up a new Google account that both Abi and I have the password to. Google makes it easy to switch between multiple accounts these days.
It’s important that the tag and share steps are separate. I want as much metadata as possible to reside in the source image, not in the copy that the sharing service has. That makes it much easier to switch services in the future. I may trust Google more now than I did in the past (the Lindy effect comes into play here), but doing things like editing GPS coordinates only on the copy seems like a bad idea no matter what company runs the service.
(It looks like neither Google Photos nor Apple Photos use the “Image Description” Exif field for display purposes, which is a pity. Seeing as I have event description in the folder name anyway, I could update the photos with that text as well, and make the photos even more self-describing.)
Separating all of these steps might seem like a huge amount of bother. Google Photos and Apple Photos exist precisely to combine all of these steps, to make it easier and faster to get from taking the photo to sharing it. And that’s great, up to a point. But with 50,000 images, many of which are immeasurably precious to me, and a healthy mistrust of both hard disks and cloud services, I’m well beyond that point. I need more control.

With this new process, I have only got as far as the consolidation step. I still need to go through the consolidated images and fix the tags. But I can do that slowly, over time, and add them to the sharing service whenever I’m done with a folder. I felt that the consolidation step needed much more concentrated effort to get me over the initial hump, though. Tagging and sharing photos feels like fun, something I can do for an hour in an evening; comparing folders to find the missing images is work that I wanted to get done in as short a time as possible. Having a few days off was useful for just blasting through it.
Finally: watching myself gain weight in fast-forward over the last three years was not fun. Maybe this will be the spur I need to get back on the Flickr Diet.
I’ve been spending some time consolidating my various photo libraries. This involves combing my hard drive to gather over a decade of scattered folders full of images. It’s a lot of work, but occasionally it throws up some gems I’d forgotten about. Such as this little cloning experiment from March 2008…
The Forteiland IJmuiden, one of the fortifications of the Amsterdam Defence Line, is used mostly for corporate and other private-hire events. But is open to the public about a dozen days each year. We went to visit it on Sunday 4th September. You have to pay to get in, but that includes the boat trip to the island, and a two hour tour from one of the many volunteer guides.
It’s a pretty nifty bunker fortification, with lots of tunnels.
I was fascinated by how it was built. Because it is currently an island, I had thought that it was constructed as an island, just like Pampus. But no: a hundred and fifty years ago, the town and the port of IJmuiden didn’t even exist. The island wasn’t constructed; the island is what is left over after everything else was dug away to create the mouth of the North Sea Canal.
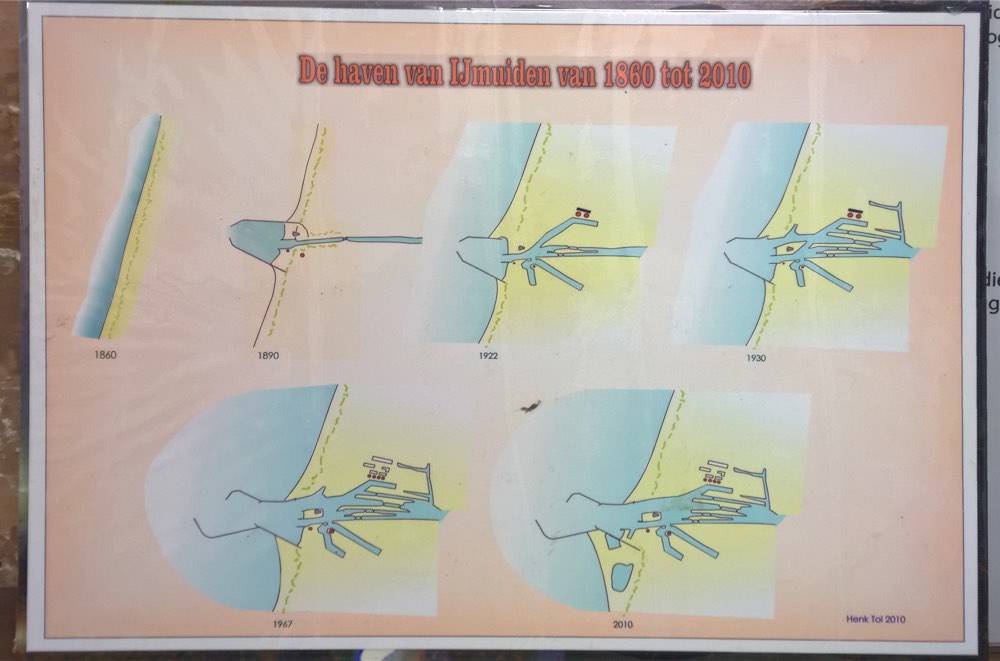
The fort was originally built in the dunes of Velsen. As more of the dunes got carved away, it eventually became an island in 1929. Until after the second world war, it was still connected to the Velsen mainland to the north via a bridge. One of the women on the tour with us remembered paying a few cents to cross the bridge when she was young. It’s another reminder of the extent to which the Netherlands is largely a constructed landscape.
After we took the boat back, we drove over the locks of the canal, through Wijk aan Zee, and to the north side of the port. We parked under the giant wind turbines and had lunch at the Sea-You restaurant. After lunch we walked out to the end of the north pier.
The beach was full of kite and board surfers. We joked about how the turbines looked like giant fans providing the wind for the kite surfers to sail on.
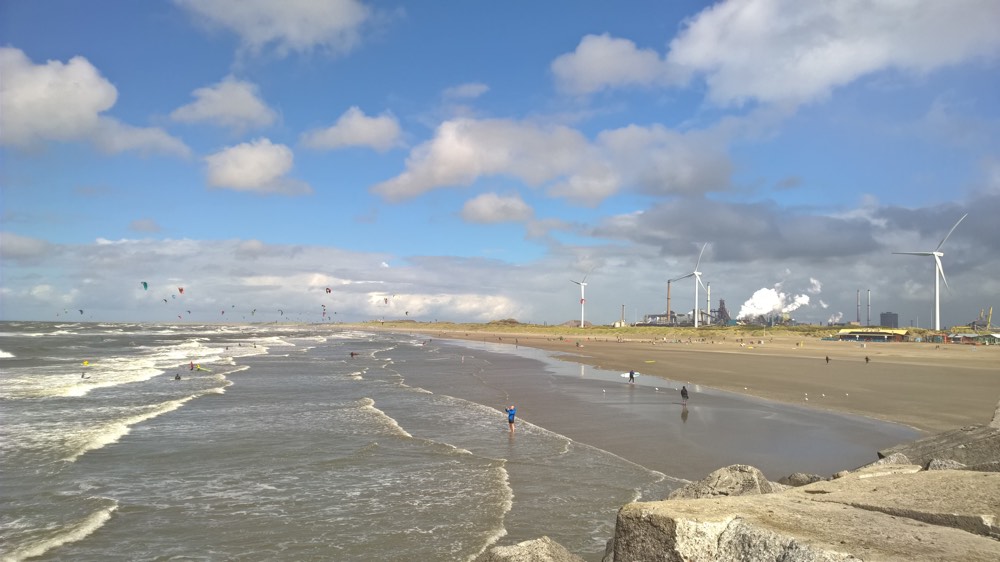
The edges of the pier are reinforced with giant concrete cubes. Most of them are worn, some of them are shattered. The sea is brutal. If the waves don’t get you, the salt will. Nothing lasts here without maintenance over the decades.
Just outside Wijk aan Zee, there is a sculpture garden, Een Zee Van Staal (A Sea of Steel), that looks like it hosts dozens of enormous pieces of steel art. (Tata Steel’s enormous factory is just around the corner from here.) Now that we know it’s there, we’ll be back to pay it a visit some time.
At the end of August I posted a video of Abi and me on the swing on the A’DAM Toren Lookout deck. Here are some more images from that day (26th August). It was a lovely day, just after a major heatwave. We were just back from California, and mum & dad were taking a couple of days with us after driving up from France. None of us had much energy for a big sightseeing trip, and we figured that catching the view from the tower would be enough activity for the day.
First of all, at the base of the tower, there’s an iron throne of guitars:
The elevator up to the 20th floor is itself quite an experience. It has a glass ceiling, and the elevator shaft is a light show of strobing and shifting colours for the thirty seconds or so it takes to reach the twentieth floor. It’s quite impressive, but also vertigo-inducing. When you exit the main elevator, you still have to get up another floor to the lookout deck. We got lost trying to find another elevator to take us up, but we made it there eventually. (They still need to work on their accessibility.)
The views from the lookout deck are fantastic. There are beanbags for sitting down and catching some sun (I assume they’ll be anchored on windy days), and of course there is the swing.
After we’d been on the swing, we went back down a floor to have a coffee in the Madam panorama bar. It was lovely during the day; I’m sure it would be spectacular at night. There’s also a disconcerting glass window in the floor that allows you to see straight down the side of the tower.
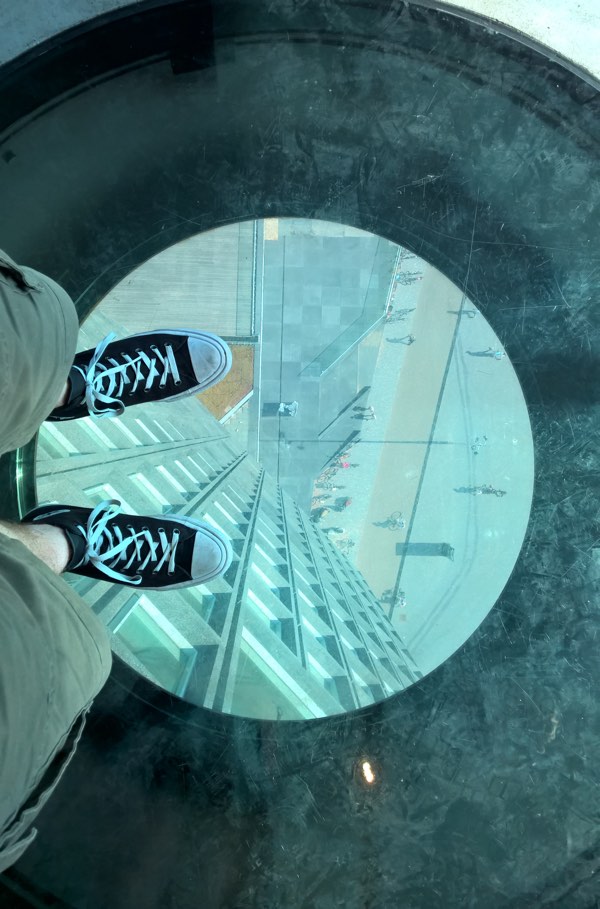
Here’s the view from below, showing both that window in the floor, and the swing.

If you’re OK with heights, it’s well worth a visit.