This is an update to my photo workflow post from 2023, because I’ve changed a few things since then.
Phone camera (iPhone 15 Pro)
- Take photo in the normal Camera app
- I don’t tend to bother with Halide or other camera apps any more.
The photo goes into the photo roll on my phone, and gets synced to iCloud and Photos.
In the field (Fuji X-T20)
- I now use the MapMyWalk app on my phone instead of GPX Trail Tracker. I use MapMyWalk for tracking my (long) walks anyway, and it can generate a .tcx file with geolocation coordinates along the walk, which I use later in the process. (Note: it’s important to start a new walk in the app before beginning!)
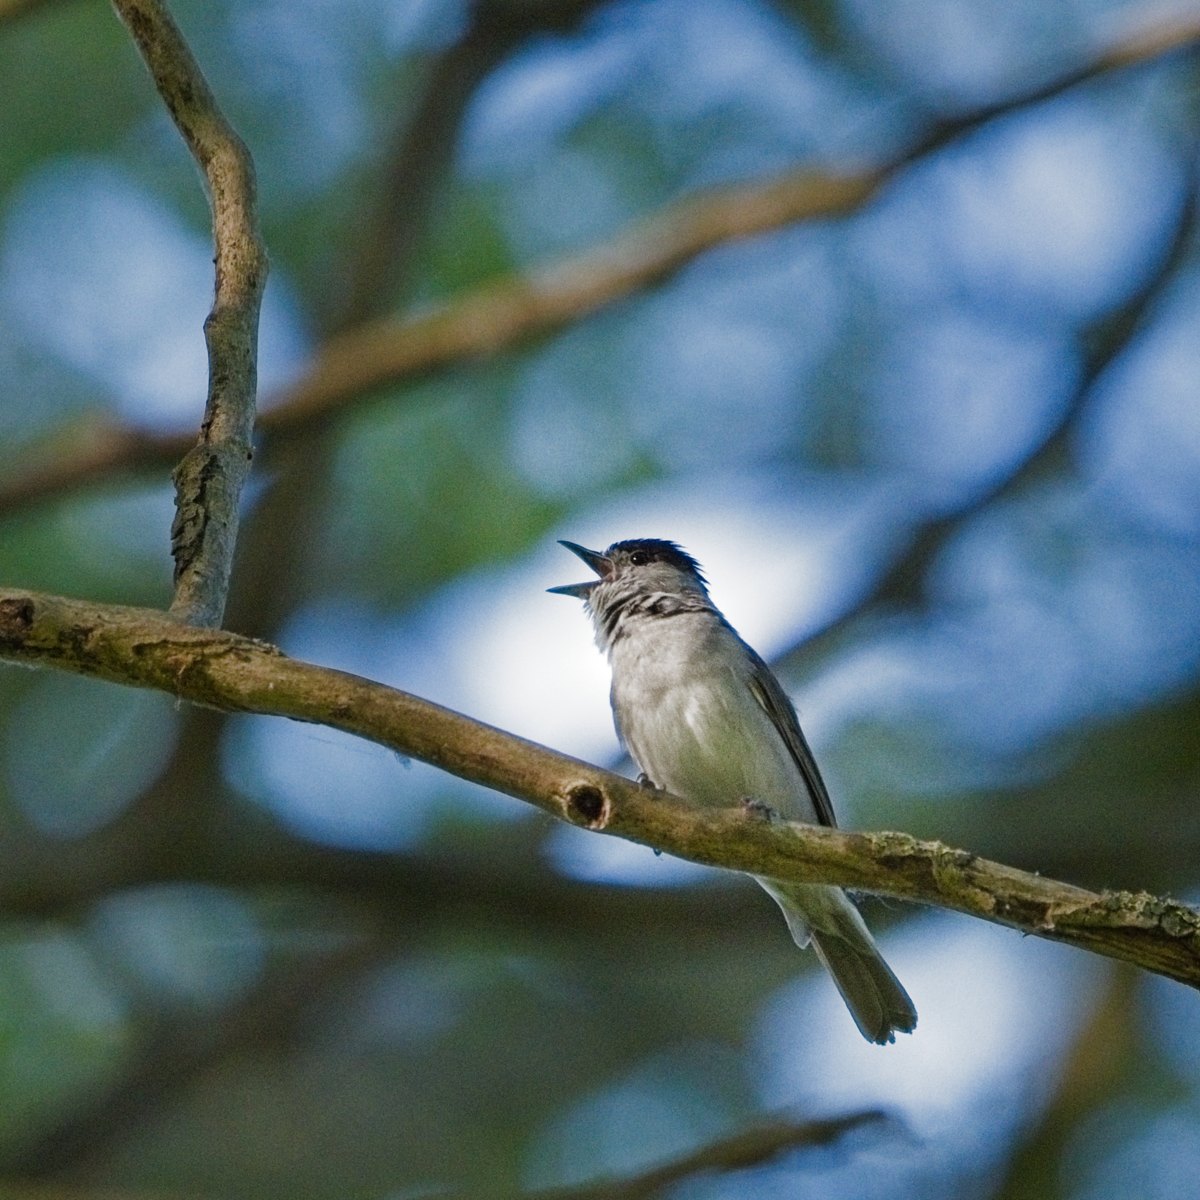
- Take photos. I’m still shooting in “fine” JPEG + (uncompressed) RAW format, image size Large 3:2. I think I could switch over to compressed RAW files to save some space, because I’m using third-party apps to deal with RAW files now instead of Apple’s Finder, which still doesn’t support them. (Update 1 June 2025: I have indeed switched over to uncompressed RAW files now. XnView and On1 both handle the compressed files just fine, and my RAW files are now about 30MB each instead of 50MB. Nice.)
Back at base
- Since 2023 I’ve upgraded my desk computer from an old MacBook Pro to an M2 Mac Mini. It doesn’t have an SD-card slot, so I use an adapter to connect up the card from the camera.
- I use the application XnView MP to view the photos I’ve taken in a session on the SD card itself, and cull them. I’ve got the app set up to treat RAW+JPEG files as a pair, and I hide the JPEGs in the browse view. XnView is great for very quickly going a large number of photos and marking the ones I want to keep. I generally check for focus and composition, and use the keyboard shortcuts to add a star rating to some files. “3” means that it’s acceptably sharp, and a good enough composition, and is the best from a burst of shots. “4” means even better than that, and “5” is something that really leaped out at me as soon as I saw it. I don’t bother marking anything lower than that. When I’ve gone through the whole batch, I delete anything without a number right from the SD card. If I’ve been out on a bird walk, I often come back with 1000+ shots, and with this system I tend to keep only about 5% of those.
- I still have the same pair of (1TB) drives named “Photos Import” and “Photos Import clone” as in 2023. A nightly task in SuperDuper keeps them in sync. They’re about 85% full right now. On a typical bird walk I’ll add about 5GB of files, and I do that maybe once every two weeks? So I’ll probably be looking at upgrading these disks sometime in the coming year.
- I’ve changed my folder structure for filing photos slightly. I’ve occasionally rented a different camera body, and this allows me to keep the photos from those occasions separate. Not sure if this is useful in the long term; check again in another 2 years.
/root
/ Fuji X-T20
/ YYYYMMDD Short event or location description
I make a new folder, and then copy the “good” photos from the SD card onto the drive. - Next, geotagging again. I log in to the MapMyWalk website, select the relevant route, and download the .tcx file for it. This goes into the same folder as the photos.
- I’m still using HoudahGeo for geotagging the photos, and it’s still great. Version 7 was just released. I load up the photos I want to tag, drag in the .tcx file with coordinates, and then tell the app to attach the coordinates to the files. It embeds the metadata directly in the JPEGs, and creates XML sidecars for the RAW files.
- Next, processing! Last year I put some (not much) effort into learning how to tweak my RAW files a bit using ON1. I didn’t want to go down the Lightroom subscription route, with all the Adobe helper apps clutter and annoyance. ON1 works well enough. It’s not expensive: there’s always a 40-50% discount offer on, and I paid €58 for the 2024 version last year. (I haven’t upgraded to the 2025 version because the difference doesn’t seem compelling for my case.) The biggest drawback of the app that its checkbox UI components are styled as radio buttons. It’s downright offensive. Yes, it has generative API capabilities, but it’s easy enough to ignore them.
- One thing I do very much like about ON1 is that it works just fine with the folders on my hard disk. I don’t have to import everything into a catalogue first. It’s just a bunch of files on disk. When I make edits to my RAW files, they’re additive and non-destructive: ON1 puts a .on1 file right next to the RAW file it belongs to. This is just another sidecar file, like the .xmp file I generated with HoudahGeo. If I want to process the original RAW file again with a different app in the future, it’s not a problem.
- Inside ON1, I open up the folder of images I’ve just made, and look through everything again. I don’t tend to process everything. I’ll select maybe 5-10 that look like they may end up nice, and do some light processing on them. Typically a bit of a crop, a bit of work on the brightness and shadows, sometimes add or remove a little vibrance, and then see if the sharpening algorithms do anything to improve the final image. If there’s an image that looks really special, I may spend more time selectively tweaking different areas, but that’s rare for now. I’m not an expert at this, but I can generally get the image looking “better than it was before”, which is nice.
- I then export the processed RAW files to a sub-folder called “ExportJPG” because that was the default name in ON1 🤷♂️. From there, I import these processed, exported JPEGs into Apple photos, where they sync to the cloud. (For backup I also have a nightly job in SuperDuper to clone my full hard disk; and I’ve got Backblaze for off-site backups of everything.)
- I don’t have a photo printer at home, but very occasionally I want to get a print of something. I’ll create an export file in a different folder, and then send that off to HEMA, and they’ll have it ready for me in about 5 working days. I don’t think I use this often enough to make it cost-effective to buy a photo printer.